☀️ Summer Festival, Sat 12th July 🥳

🥁 Drum roll please!
Tickets for the Summer Festival are now available to buy through our website. Click here to buy yours, and tell your friends about the event by forwarding this email. You can also share our Facebook event or Instagram post.
Full programme details are here:

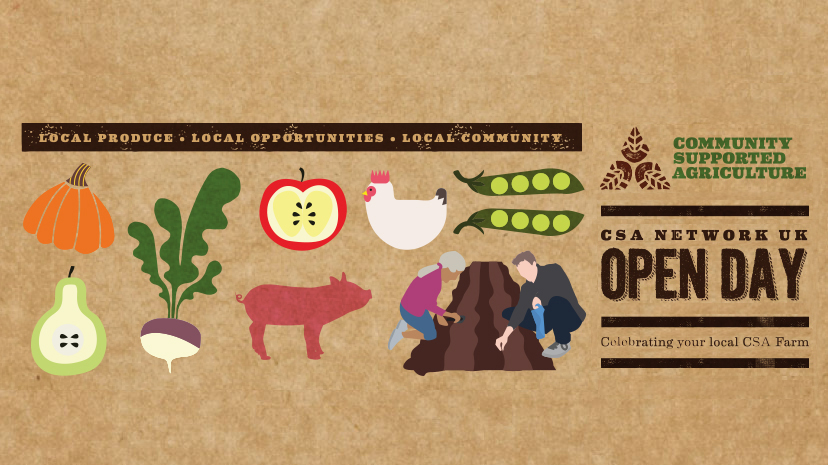
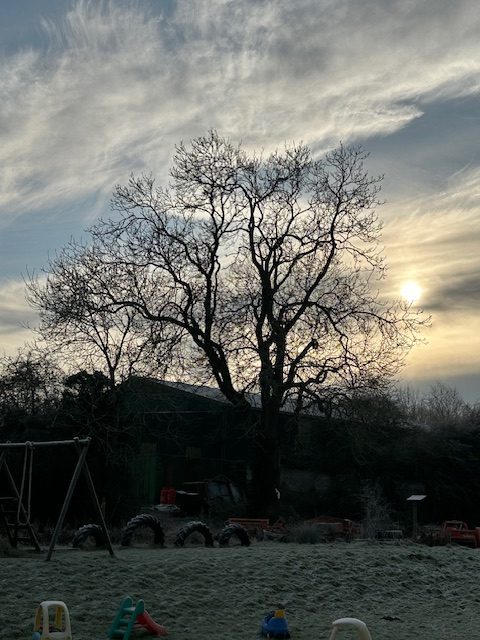
Open Farm Sunday, 8th June 2025
☀️ Come and join in with a tour of the farm 🚜
or one of the free activities
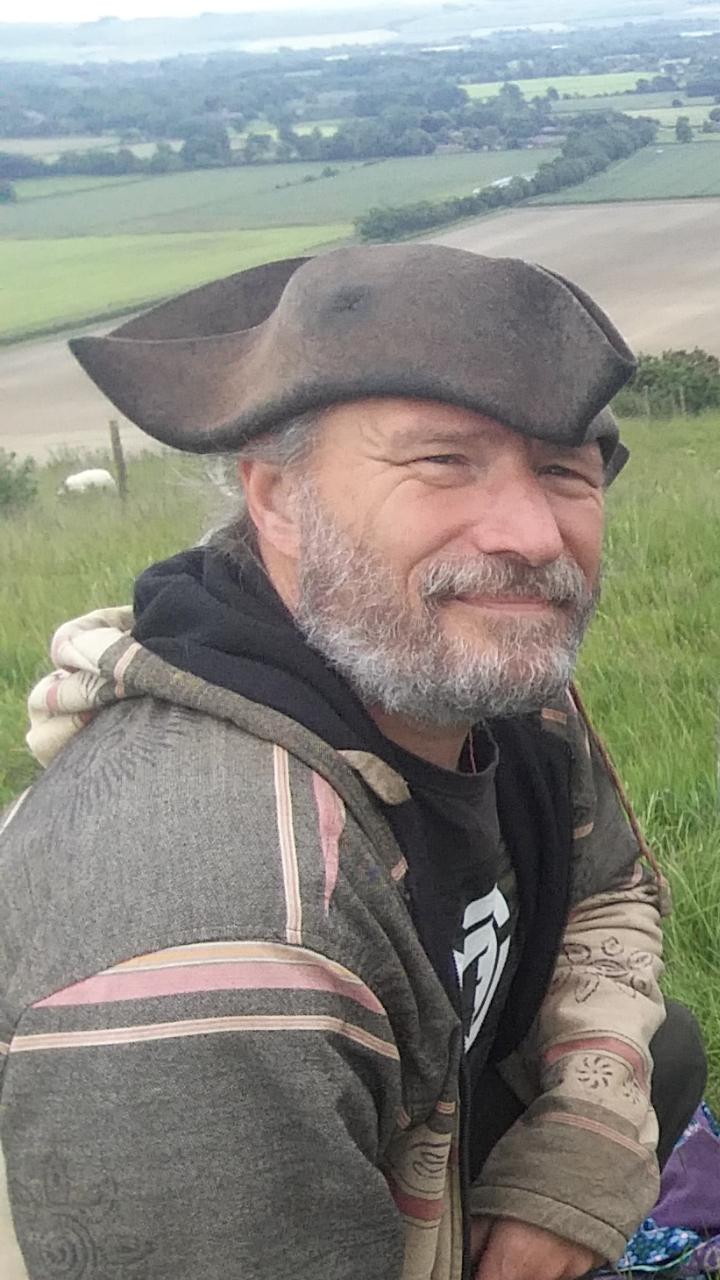
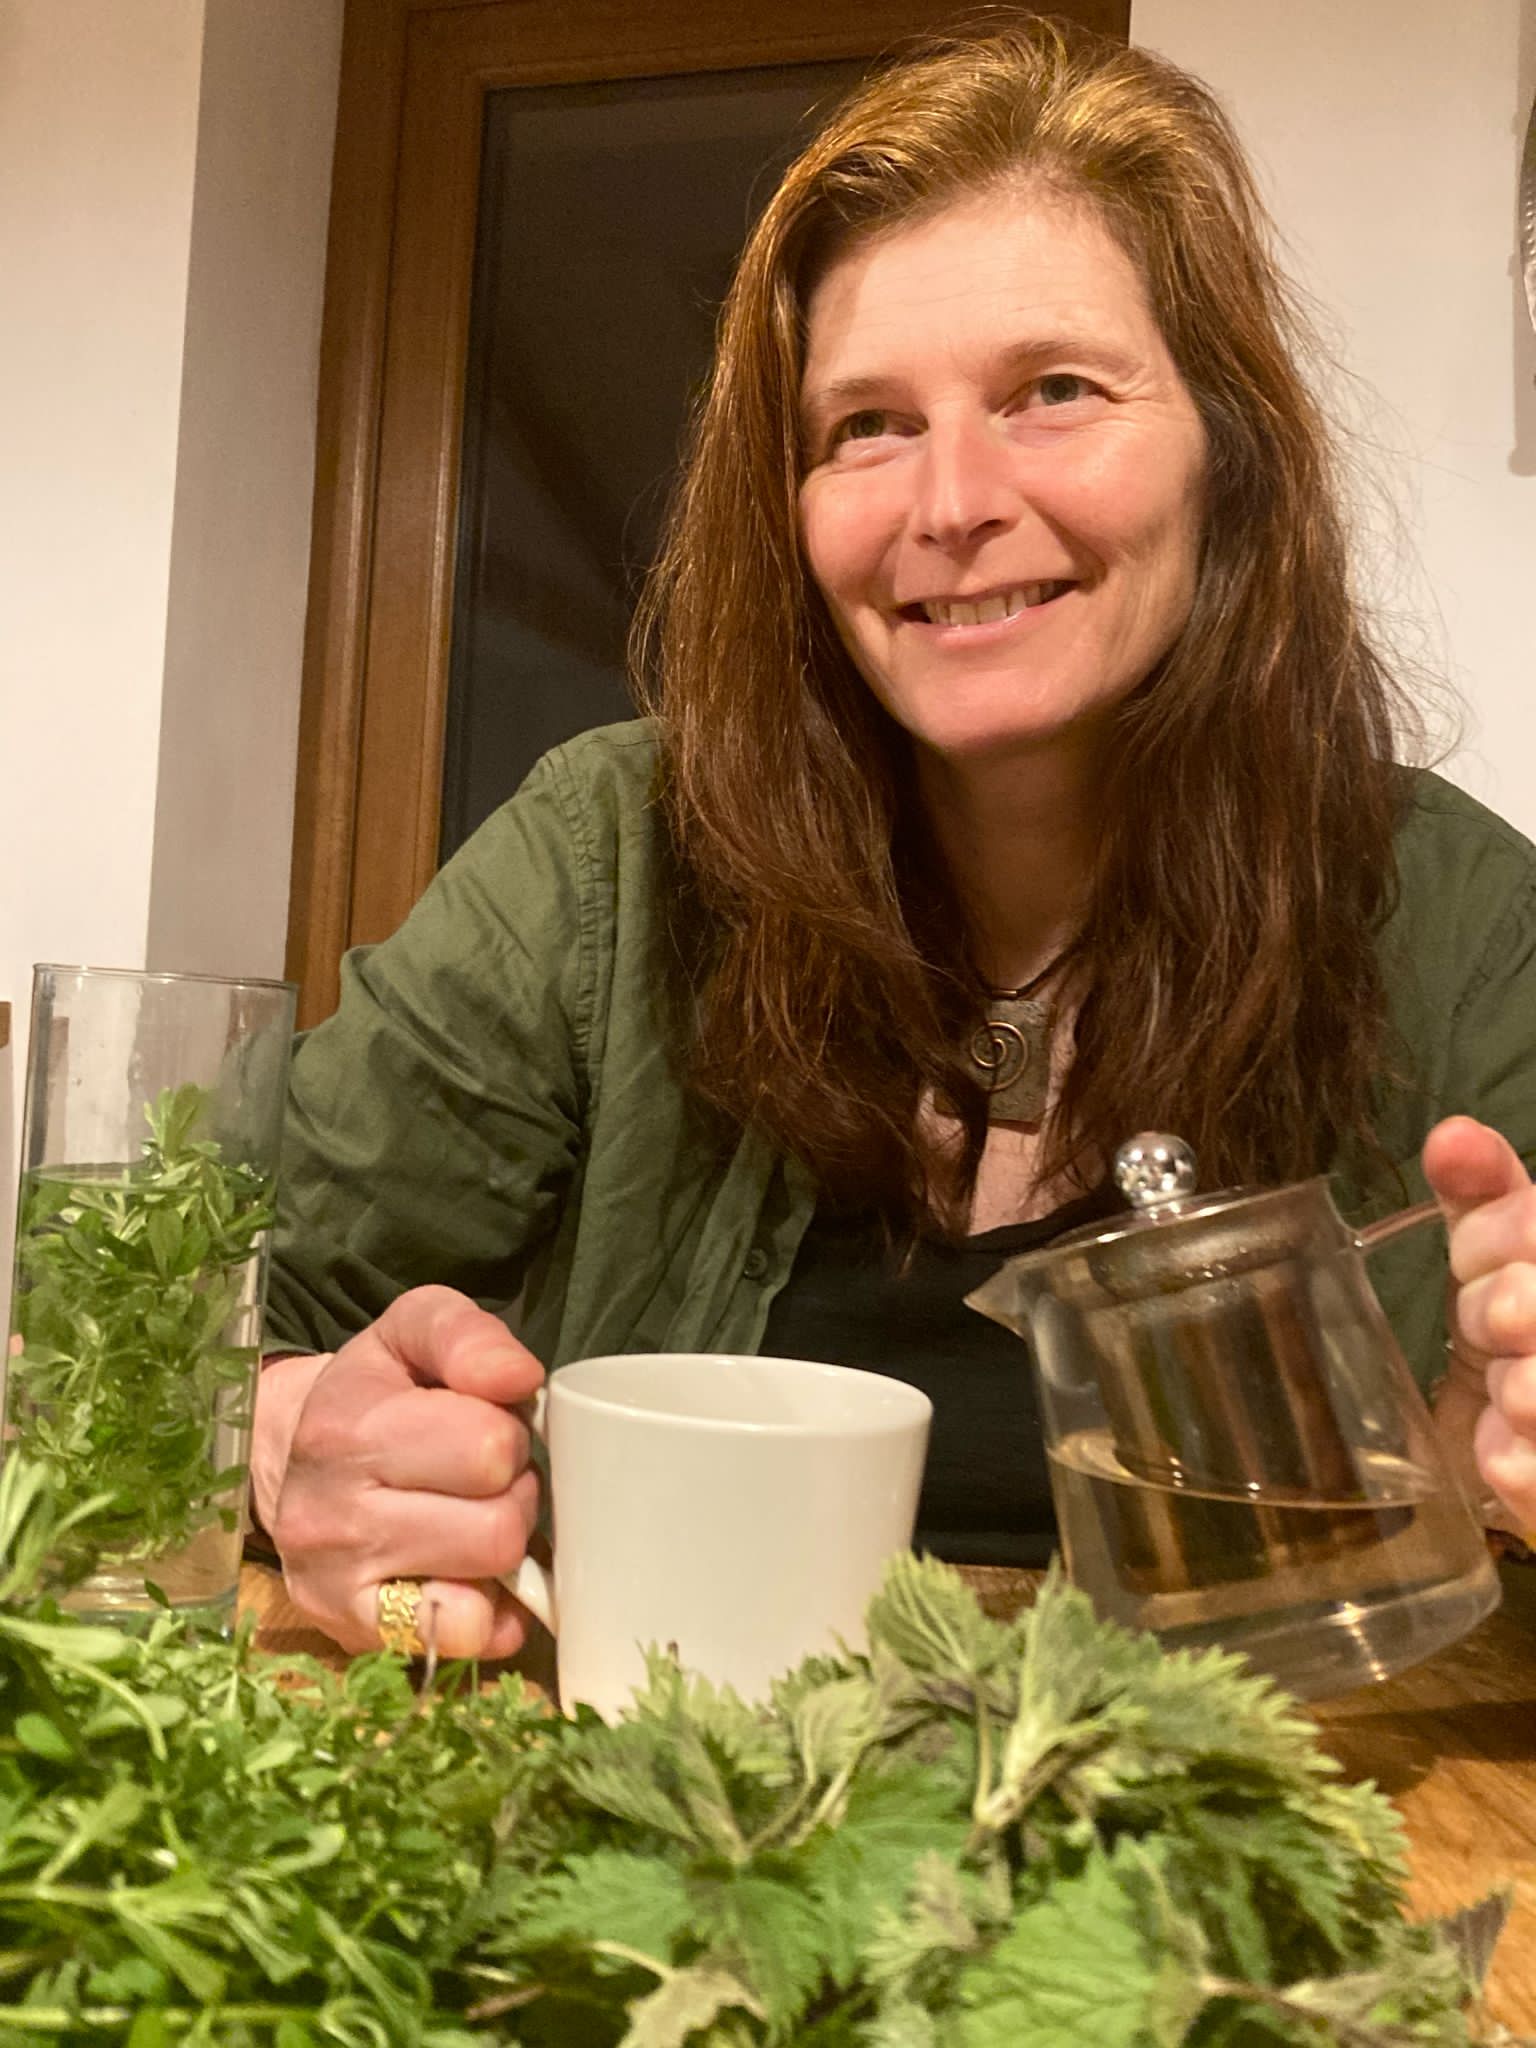
On Sunday 8th June, we will hold our open day as part of the national event ‘Open Farm Sunday’, when the farm will be open from 10.30am until 3pm. It’s an ideal opportunity to be taken round our fields and find out what’s growing on the farm at the moment. It’s also a chance to join a foraging walk with members Craig Barnes (forager) and Nic Bingley (herbalist in training), or a fermenting workshop with member Erica Moody.
Sunday 8th June, 10.30am – 3pm
Farm tour, free activities, bring-a-picnic, refreshments
🚜 Tour of the farm starts at 12 noon – look round the fields and polytunnels
🌿 Join a foraging walk at 11am or 1pm
🔪🫙 Fermenting workshop at 2pm
🪴🫖 Plants and refreshments to buy (including pizzas from The Willows pizza oven from 1pm)
🥕🍐 Find out how our community supported agriculture scheme works and what vegetables and fruits we grow
🧺 Bring a picnic to enjoy in the social area
🛝 Children’s activities and play area
🌿🫙🔪 Herbal Harvest, Forage and Ferment!
With Canalside members Nic Bigley, Craig Barnes and Erica Moody
Forage and Herbal Harvest 11am and 1pm
Fermentation workshop 2pm
Join us to forage delicious weeds from around the farm and to make herbal vinegars and vinaigrettes to taste, like elderflower vinegar.
Those attending Erica’s fermentation workshop will learn about fermentation, get hands on prepping veg and have the opportunity to taste and take home a fermented treat made from delicious Canalside organic veg and our herbal harvest!
⬇️ Craig and Nic will lead a forage and herbal harvest, Erica will run a fermenting workshop

⌚ What the day will look like:
10.30am – open day starts
🌿 11am and 1pm – foraging walk
🚜 12 noon – farm tour for about an hour
🍕 1pm onwards – pizzas from The Willows’ pizza oven
🫙 2pm – fermenting workshop
Anytime: 🧺 bring-a-picnic to enjoy
🛝 children’s play area
🪴 plants and 🫖 refreshments to buy
🐶 Dogs at events:
We are happy to welcome people with their well-behaved dog(s) on a lead when they come into the social area for Canalside events. Thanks so much – this means everyone can feel relaxed and enjoy the event/space.
We hope to see you there. With bright summer wishes, Ali
🌸 Spring Celebration, Sat 3rd May 🥳
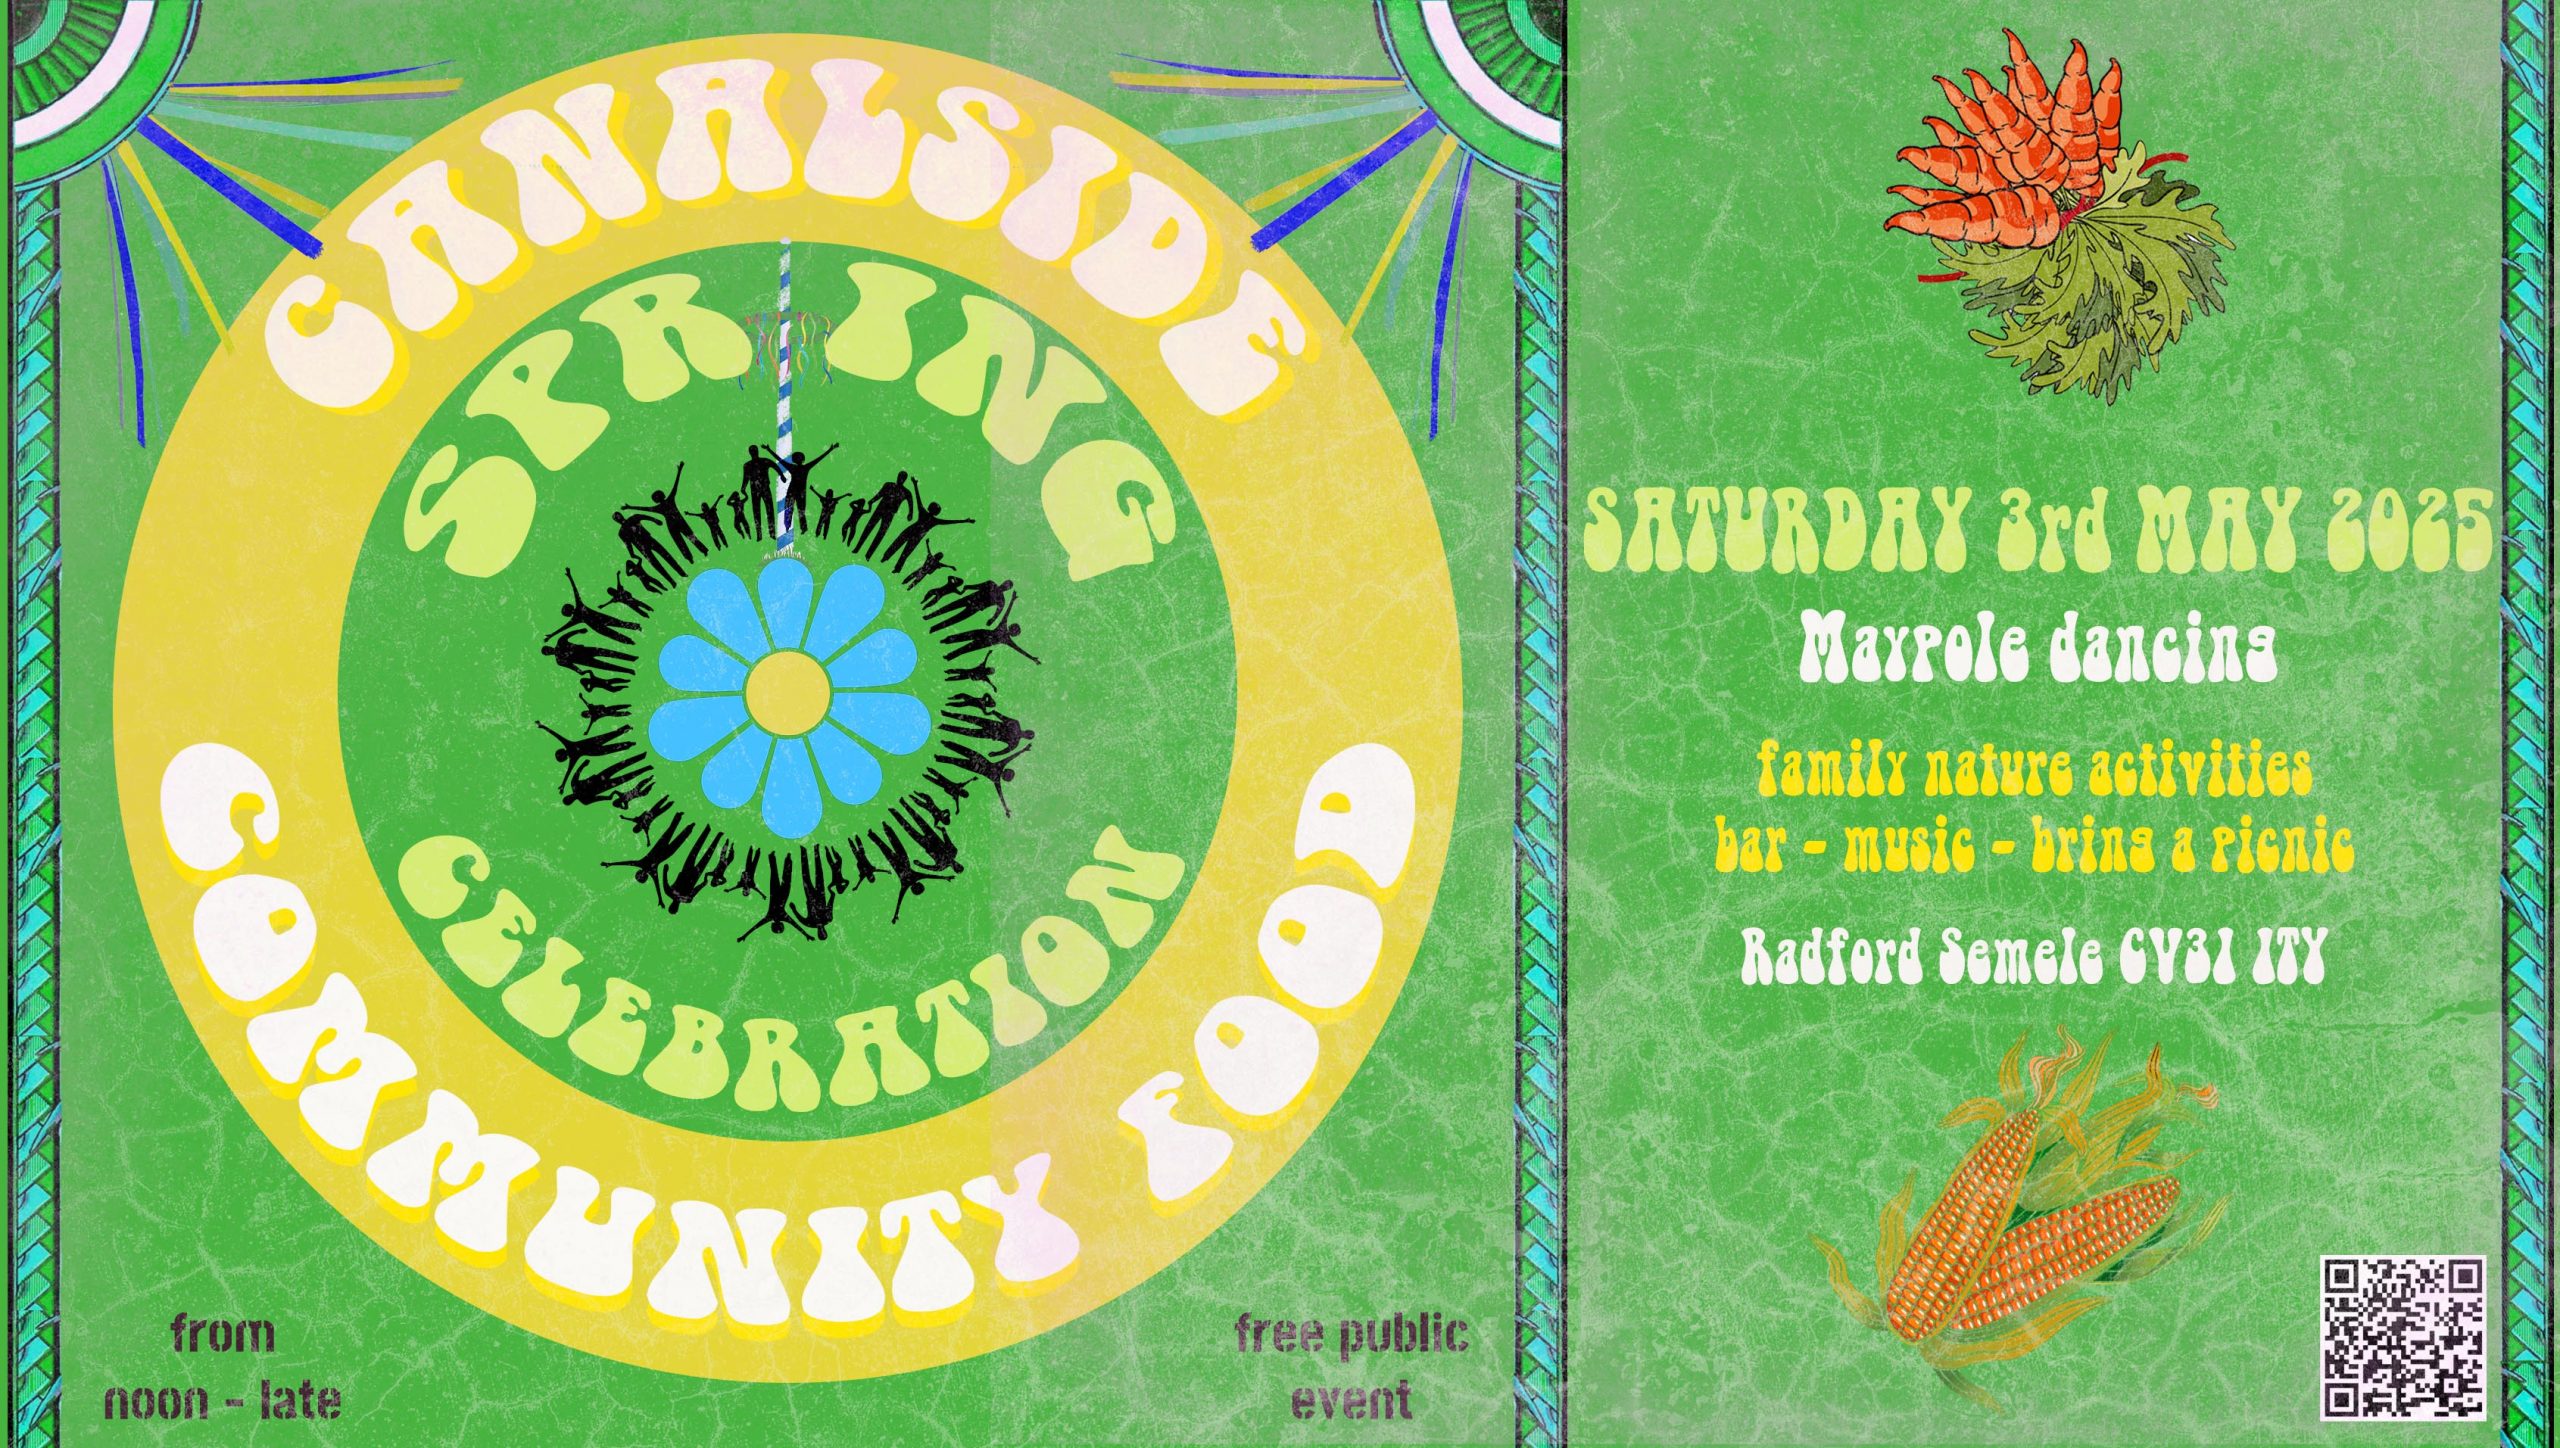
Our Spring Celebration is this Saturday May 3rd, midday until late. The Maypole ribbons are ready for the dance! It’s time for Canalsiders to have some Spring fun and to welcome new faces into the farm. The plan is:
🌸 ‘Decorate your Spring Bonnet and Bunting’ Family Activity
🌼 Spring Face painting offered by Aggy’s Girls Group “Girls Go Wild”
🌸 ‘Maypole Celebration’ Radford Semele School children dance at 2pm
🌼 Look for what grows and lives at Canalside with Pam Reason leading “BioBlitz” at 3pm.
“A BioBlitz is a natural history event that focuses on finding and identifying as many species as possible in a specific area in a short period of time. Record all of the plants, birds, animals and insects that we see. We will create a snapshot of the biodiversity on the farm, as well as learning more about the natural world on our doorstep!”
🌸 It’s ‘Bring a Picnic’ 🧺🥪🧁🍏
🌼 Cake stall 🧁 plus 🫖tea, ☕coffee and 🥤🍏🍎orchard apple juice
🌸 Welcoming ‘Chacma’ delicious Chilli Bhajis from 3pm
🌼 Canalside Bar serving Belvoir Farm lemonade, Purity Brewing Co. I.P.A. and Pure Helles Lager, Drop Bear Beer Co. Yuzu Pale Ale 0.5%, wines and a Spring Perry Elder Fizz!
🌸 It’s Happy Hour from 4pm!
🌼 Wear your Spring Bonnet and see you there!
Looking forward to seeing you there with a Spring in your step!
🌸🥳 Canalside team 🍾🍰
🌸🥳 Spring Celebration in brief
Timings:
Saturday 3rd May, noon until late
What’s on:
Decorate your Spring Bonnet and Bunting
Face painting
Bioblitz
Maypole dancing at 2pm
Bar
Chacma bhajis from 3pm
Cake stall
Hot drinks
What to bring (if you wish):
A picnic
Spring bonnet to decorate
Cash/card for drink/food purchases
🥕 Space for new veg share members
🥕🥦🧅 We have space for new subscribers at Canalside Community Food, a local organic farm just outside Leamington Spa in Warwickshire. 🍅🧄🍏
🥦 Our veg shares use organic veg grown on our small community farm, and fruit when in season.
🥕 Choose from 3 different sized ‘shares of the harvest’ and collect weekly from the farm (or, with a wait, our Leamington collection point).
🍎 Buy a 4-week trial of the harvest to see if it suits your household. Click here to find out more and buy a trial.
🧅 Regular opportunities to get involved with work and social events.
🧄 Not interested in receiving produce but would like to get involved or volunteer? Click here to become a social member instead!

Vacancy at Canalside for a Finance Administrator
We are currently recruiting – please see full details on our jobs page.
2025: January news
It is time for the first newsletter of 2025. We have been back from the winter break and going since four weeks now already… I can hardly believe it.
Over the last month we have seen a few pretty windy days which have blown the covers about on the farm. So we have kept a vigilant eye (or two) as the covers are protecting some of the most precious crops at the moment, like Purple Sprouting Broccoli, Cauliflowers and Cabbages. These have been planted in June/July and are still out there and growing and ripening. At this time of the year the birds are relentless and devour any bit of Brassica leaf that becomes available to them.

There have also been quite a few frosty days and nights, which means we have kept the tunnel doors shut and the indoor crops wrapped up under some warming fleece. Still the indoor lettuce has been suffering from the temperatures and the moist conditions. At the same time some of the overwintering crops in the tunnels like Spring Greens, Spinach, Spring Onions and Pak Choi are still waiting for slightly more warmth and longer daylight hours to kick-start their growth.

Work at the farm in January kept me extremely busy and was definitely not the wind-down that the winter usually promises. While we are cutting down on working hours in winter heavily, there is also a heavily reduced team conducting the work at the moment. A zero sum game as such.

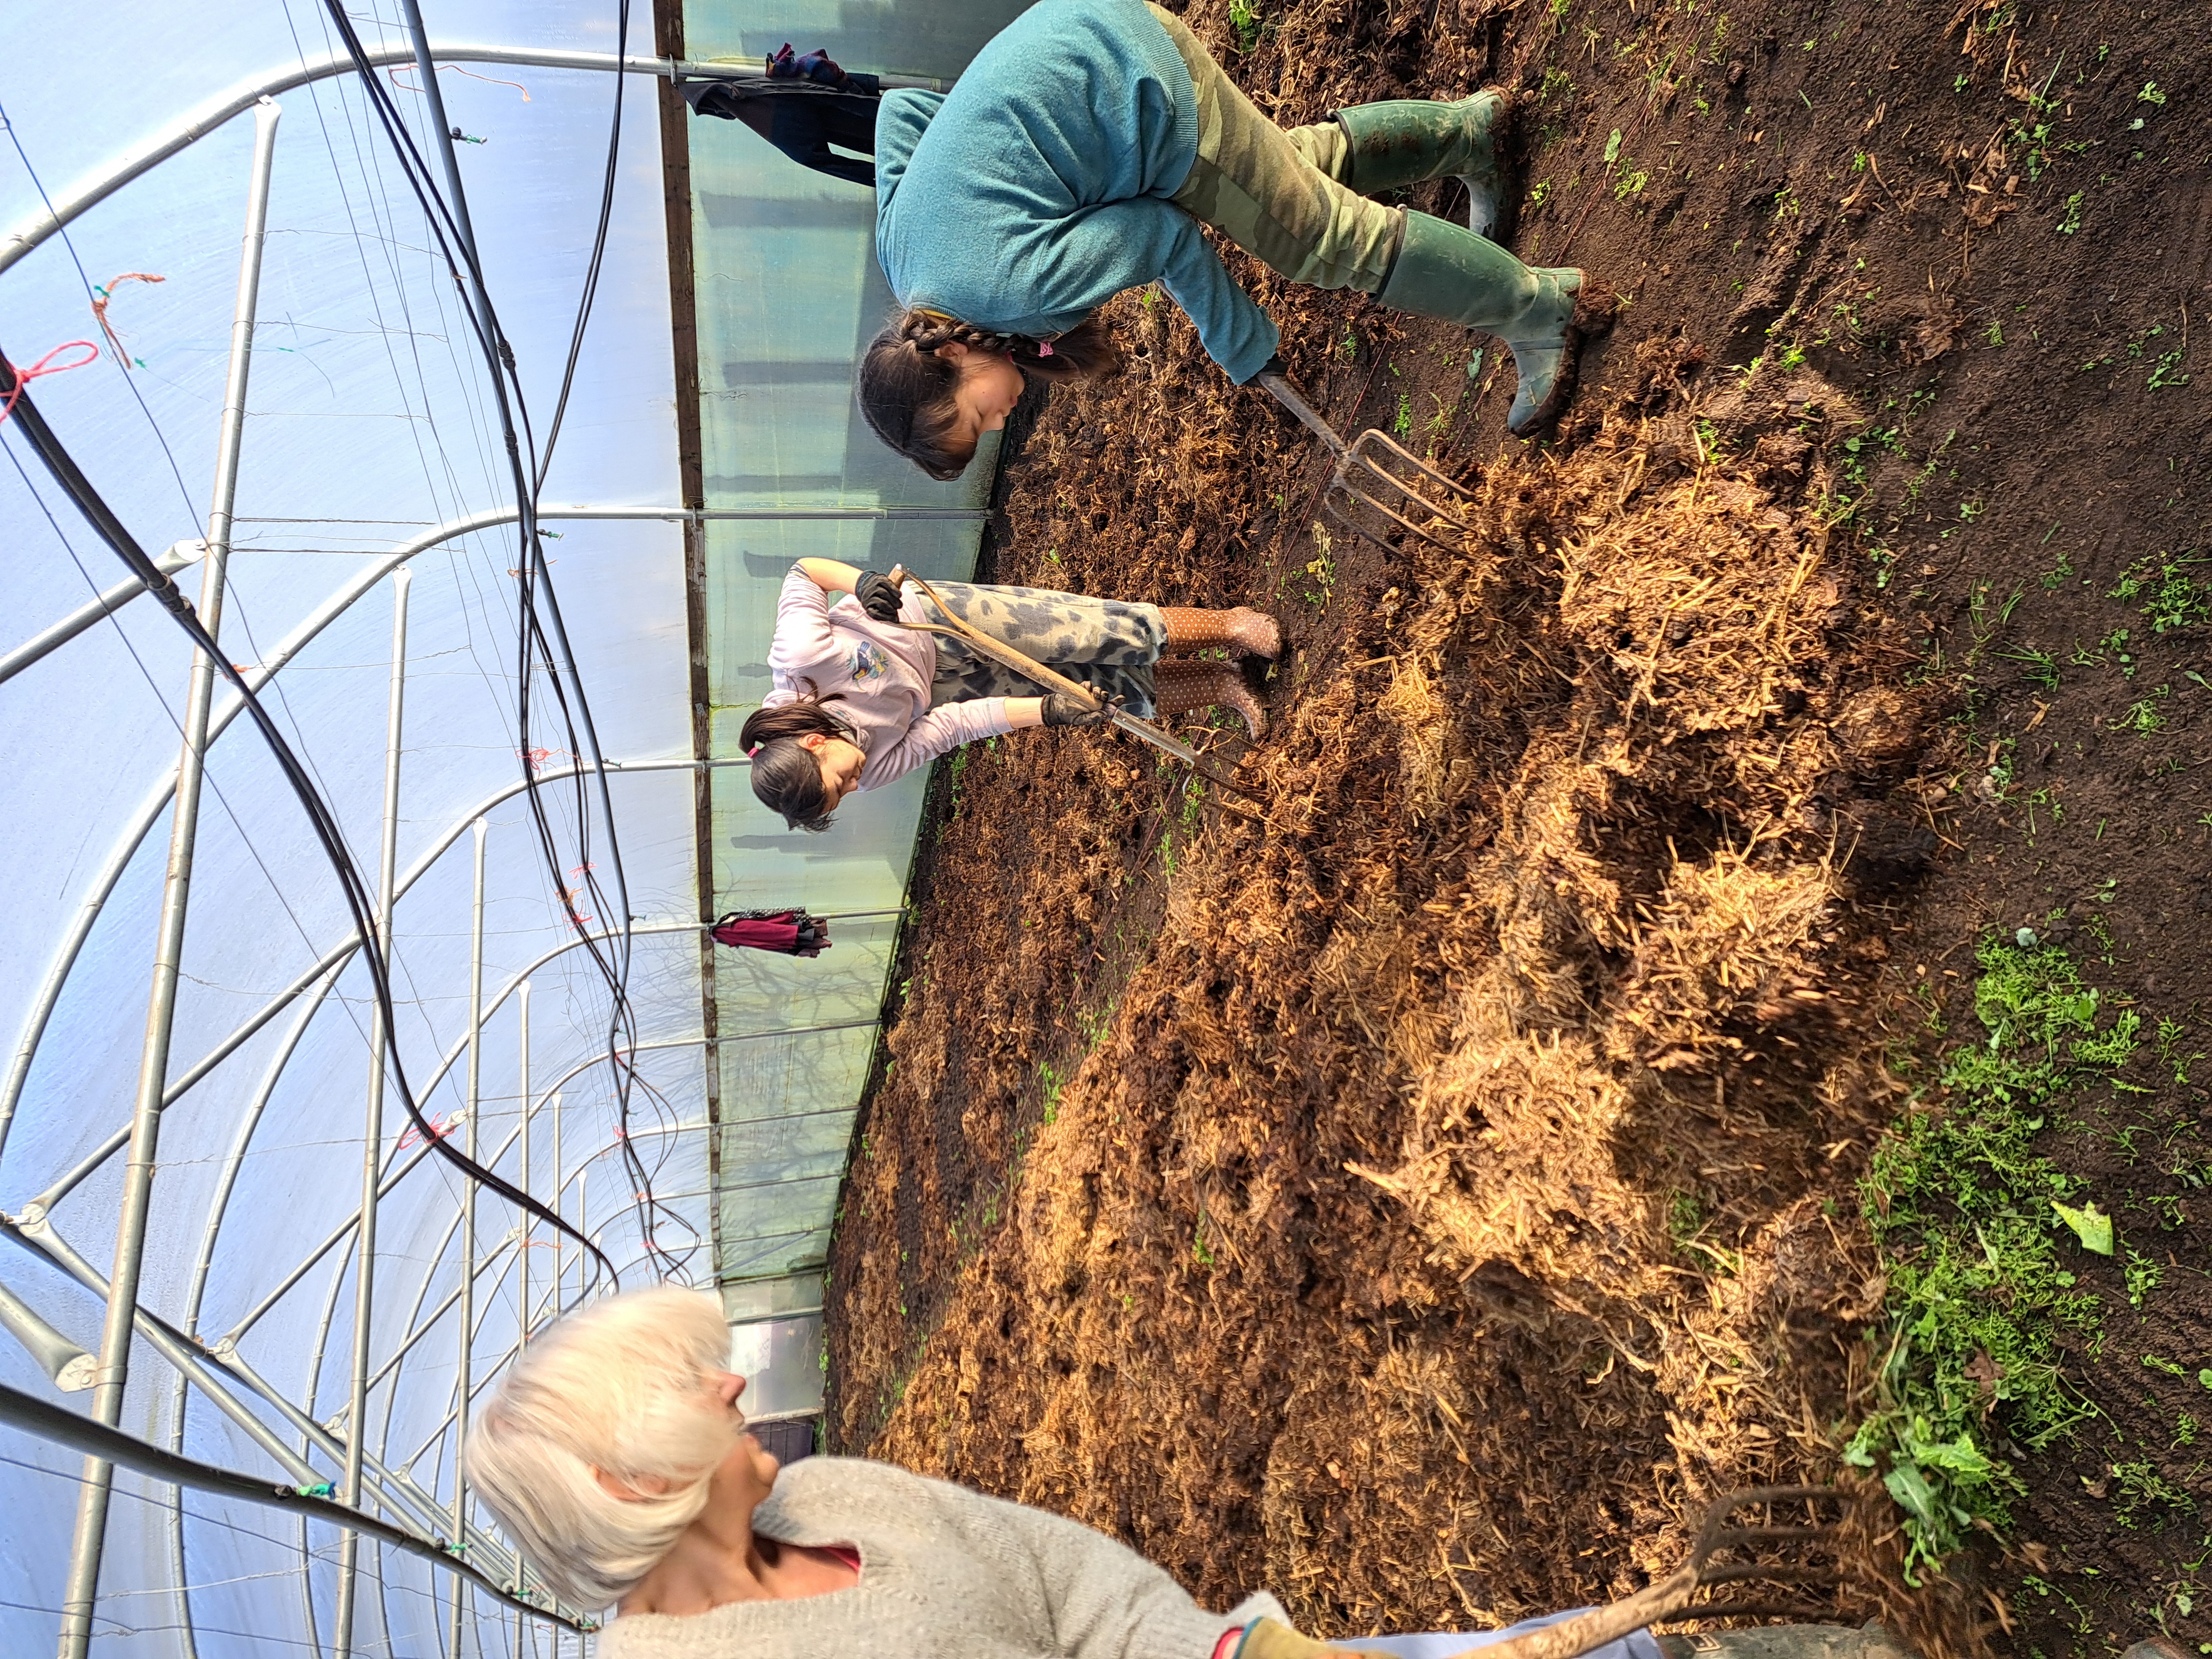
We have been using the available time to harvest for the share, to plan for the next season, and to prepare the farm for the next season. These jobs are ongoing throughout the season but an intensive focus on the planning at this time is essential to ensure a relatively smooth running for the rest of the year.
At the tail-end of January we get a proper first idea that it is not too long until spring is starting. Our first sowings are looming (the very first rocket has already been drilled in the tunnel) and further tunnels are prepared for the early potatoes and carrots to go in within the next week or so. At the same time we are setting up our propagation areas, ready to raise those first little precious seedlings.
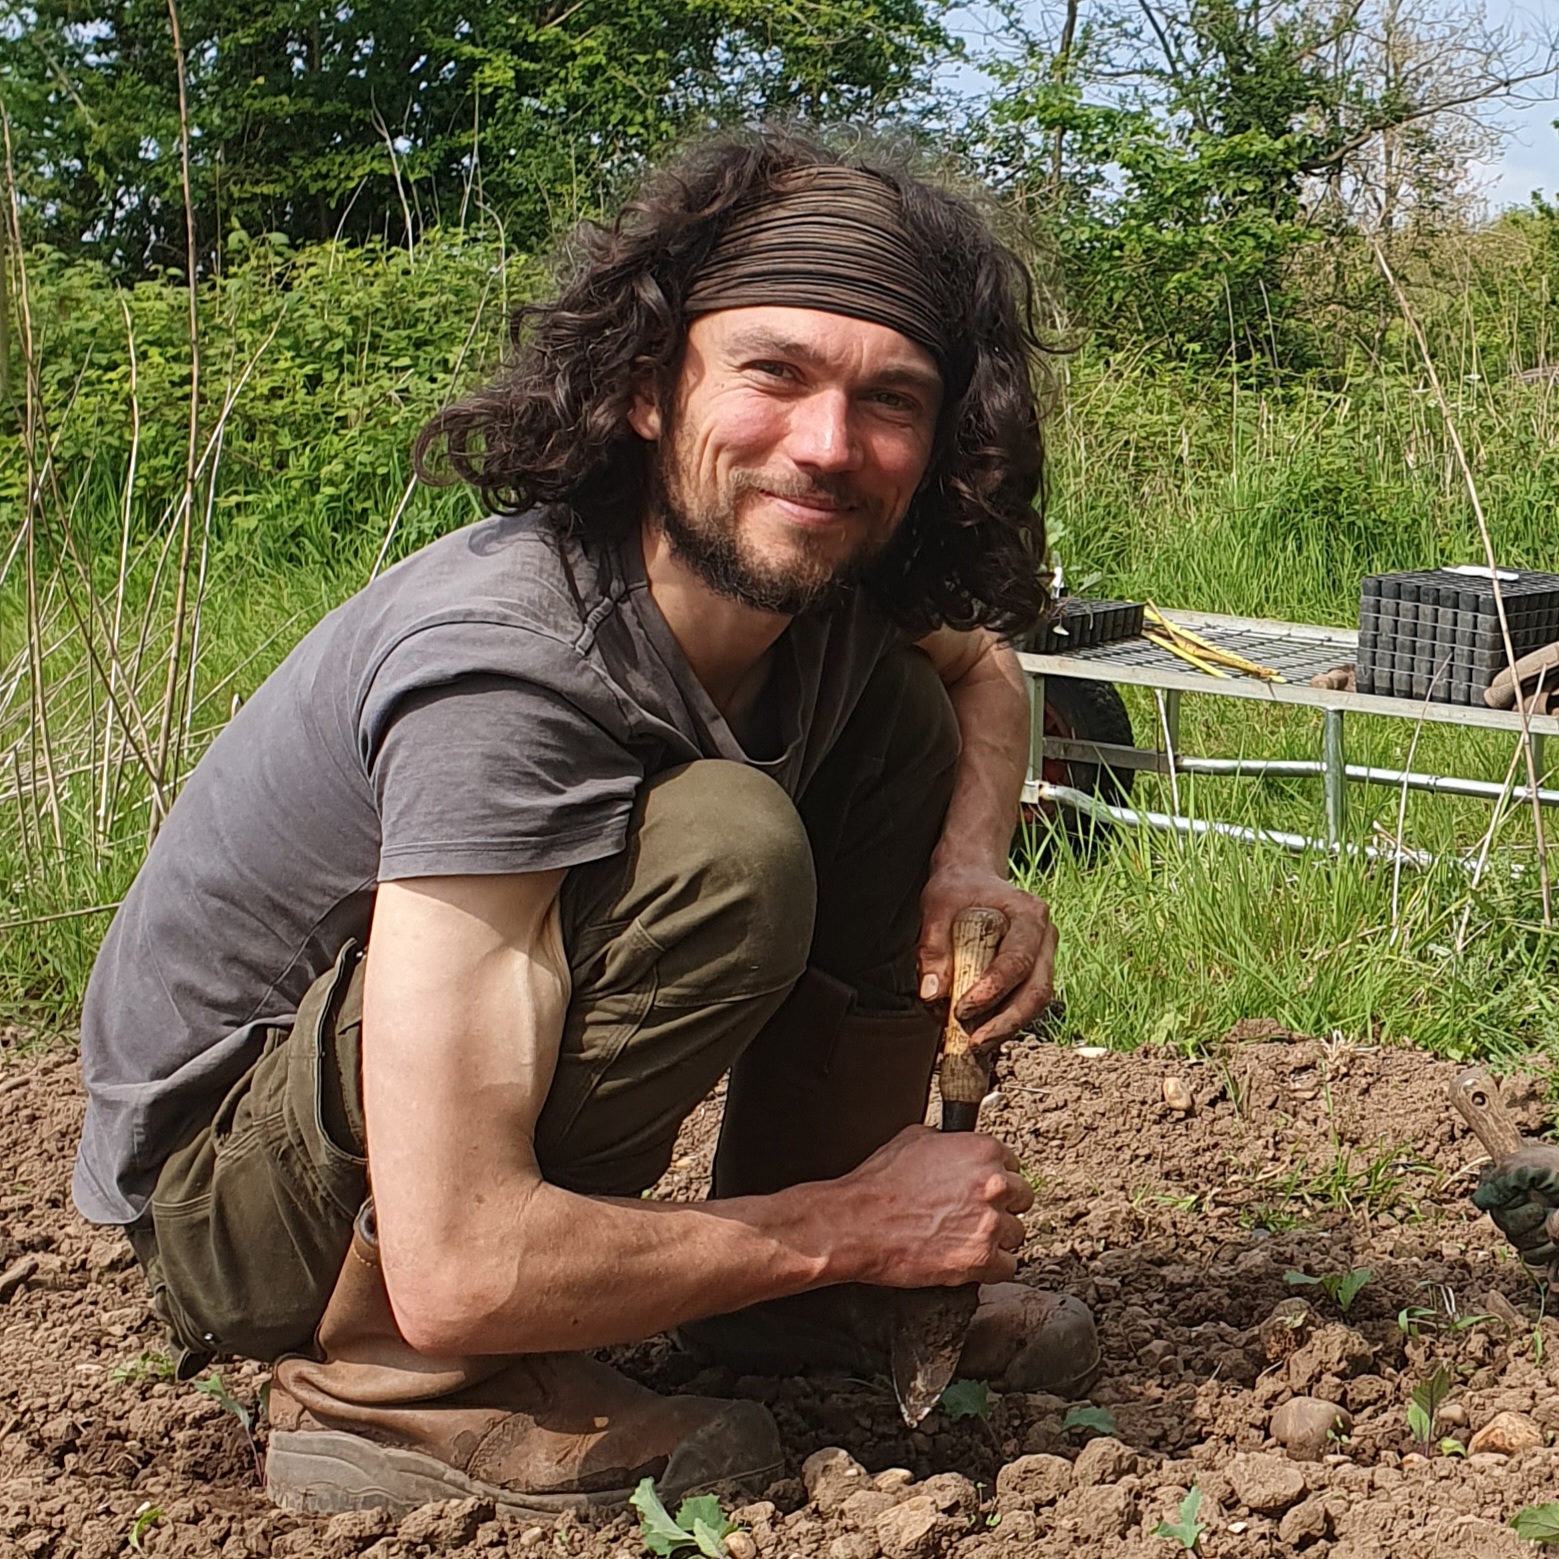
Lena, grower
Vacancy at Canalside for Assistant Grower
We are currently recruiting – please see full details on our jobs page.
2024: October news
Samhain is upon us, marking the end of the traditional harvest season and the beginning of winter. The word “Samhain” is derived from old Irish and means “summer’s end.” In the Celtic calendar the start of November is also the start of the year, beginning when everything around us is in nature is dying. The plants and trees drop their seeds and the new year is sown into the compost of the old, laying dormant until Spring.
As we now move into our Winter hours at the start of November it has also meant saying goodbye to Dan, our seasonal grower, who has been supporting our work at the farm through the busy summer season. We are very thankful for his hard work and all his contributions during his time here at Canalside and wish him well for his journey ahead.
As we are not a traditional farm and instead provide our members with produce all year round we still have plenty of work to pack into our days, but less days are worked and there is much planning to be done so we are grateful for the shift out of the intensity of the summer season.
Change always comes in small ways in the Autumn. The annual ‘switch off’ of the staff fridge in the pole barn and the electric kettle (which is extra low in energy use to guarantee that our off grid solar systems can cope) and the switch to heating water with gas means we save our precious sun energy for charging floodlights to help our members navigate their way to collect their veg on the dark Tuesday evenings. The daylight hours are noticeably shorter, and more importantly for growing, the chances for sunlight dwindle exponentially.
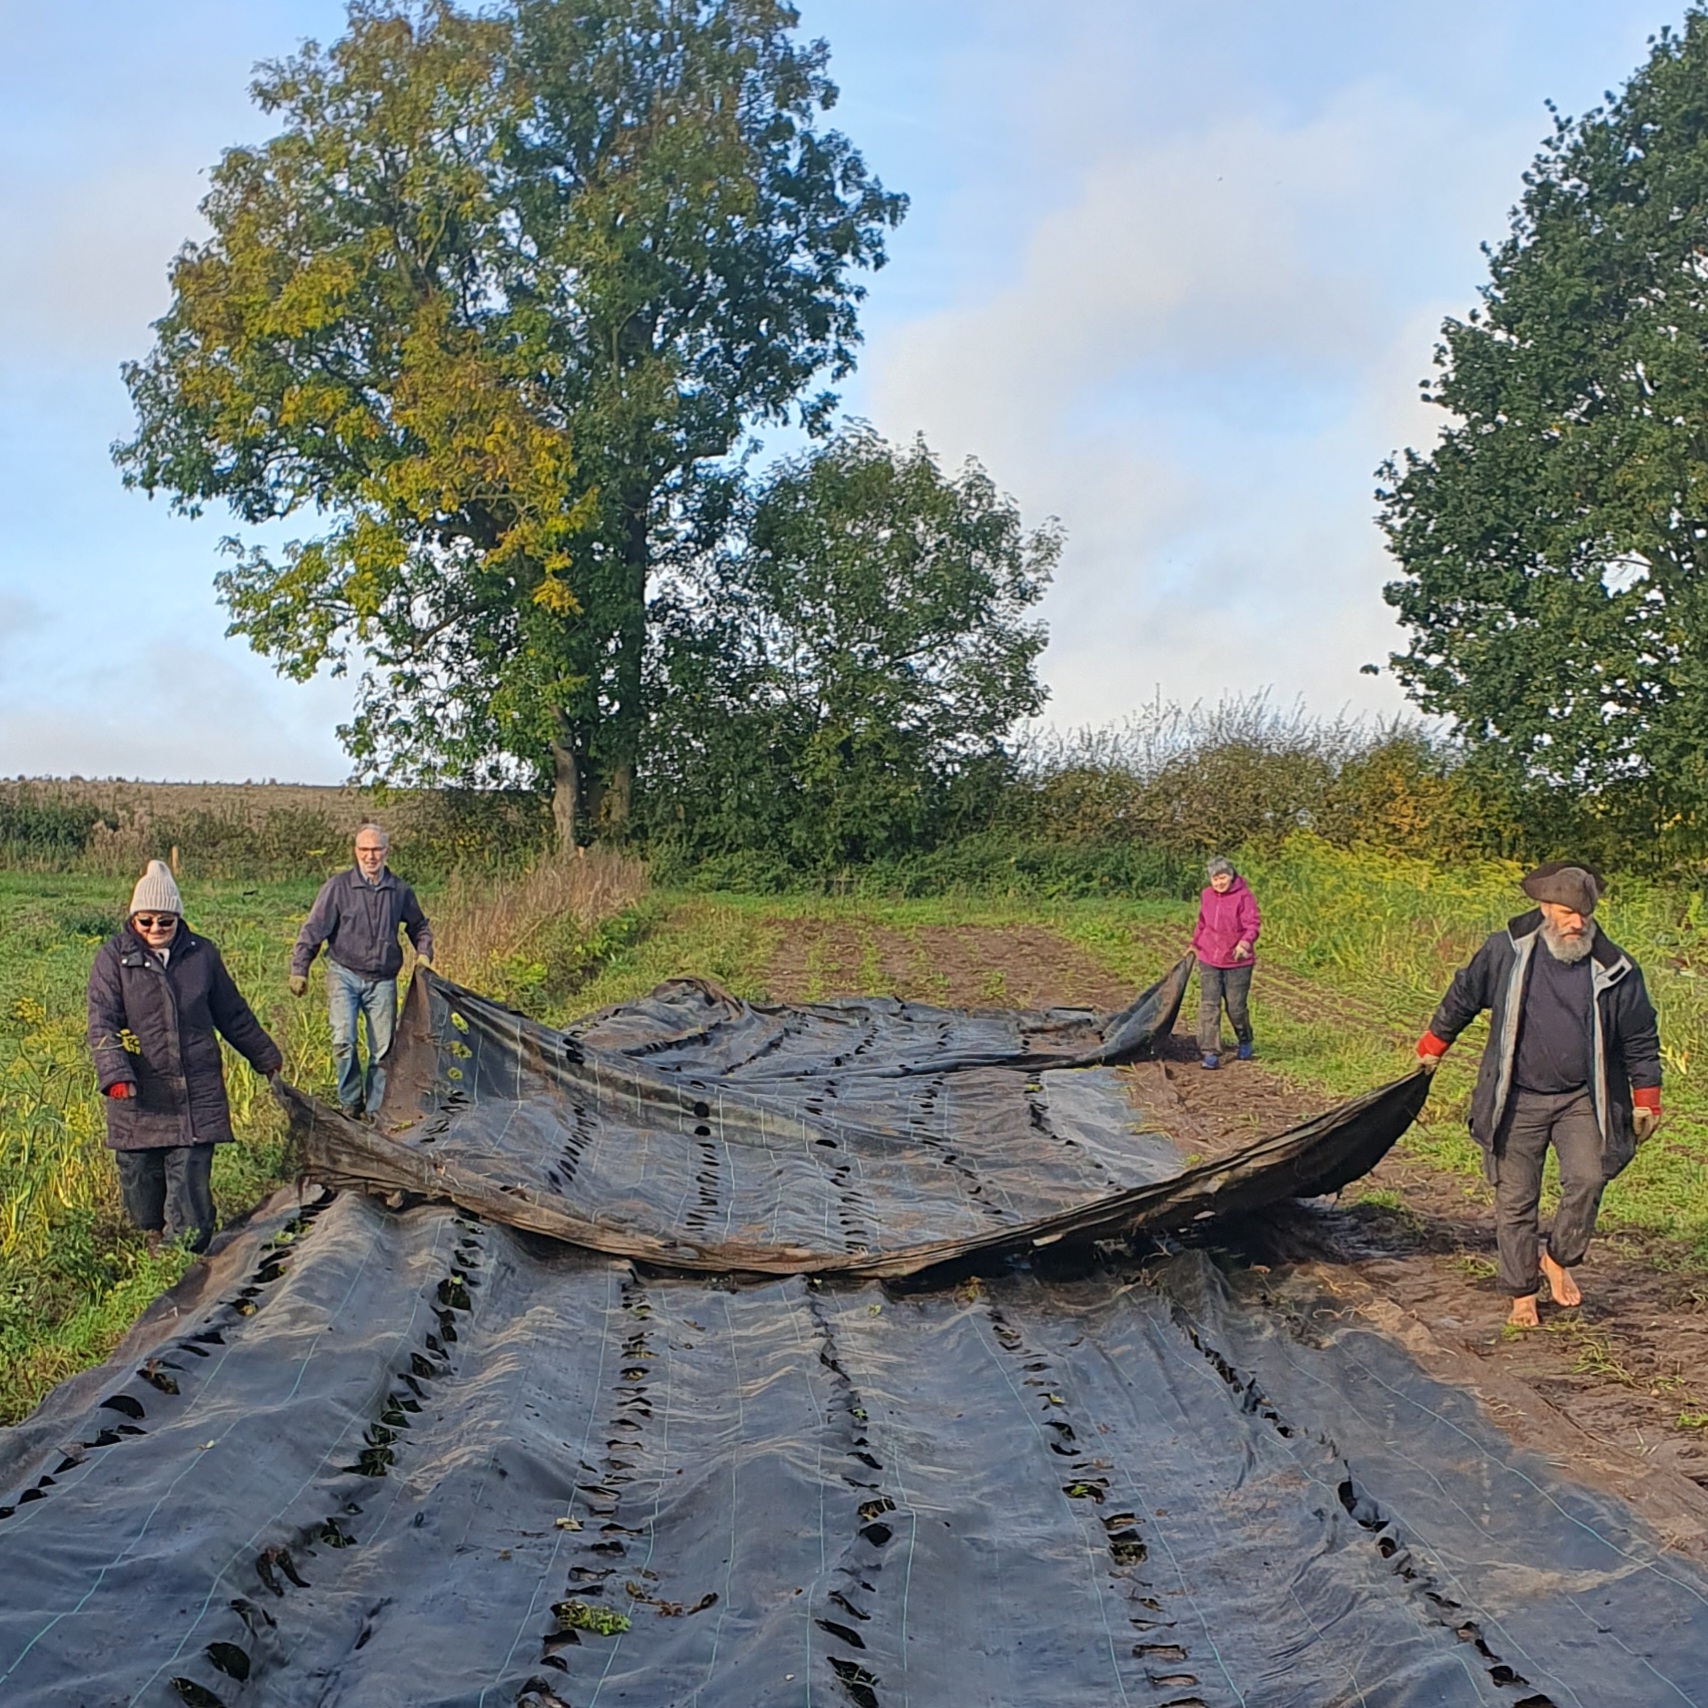
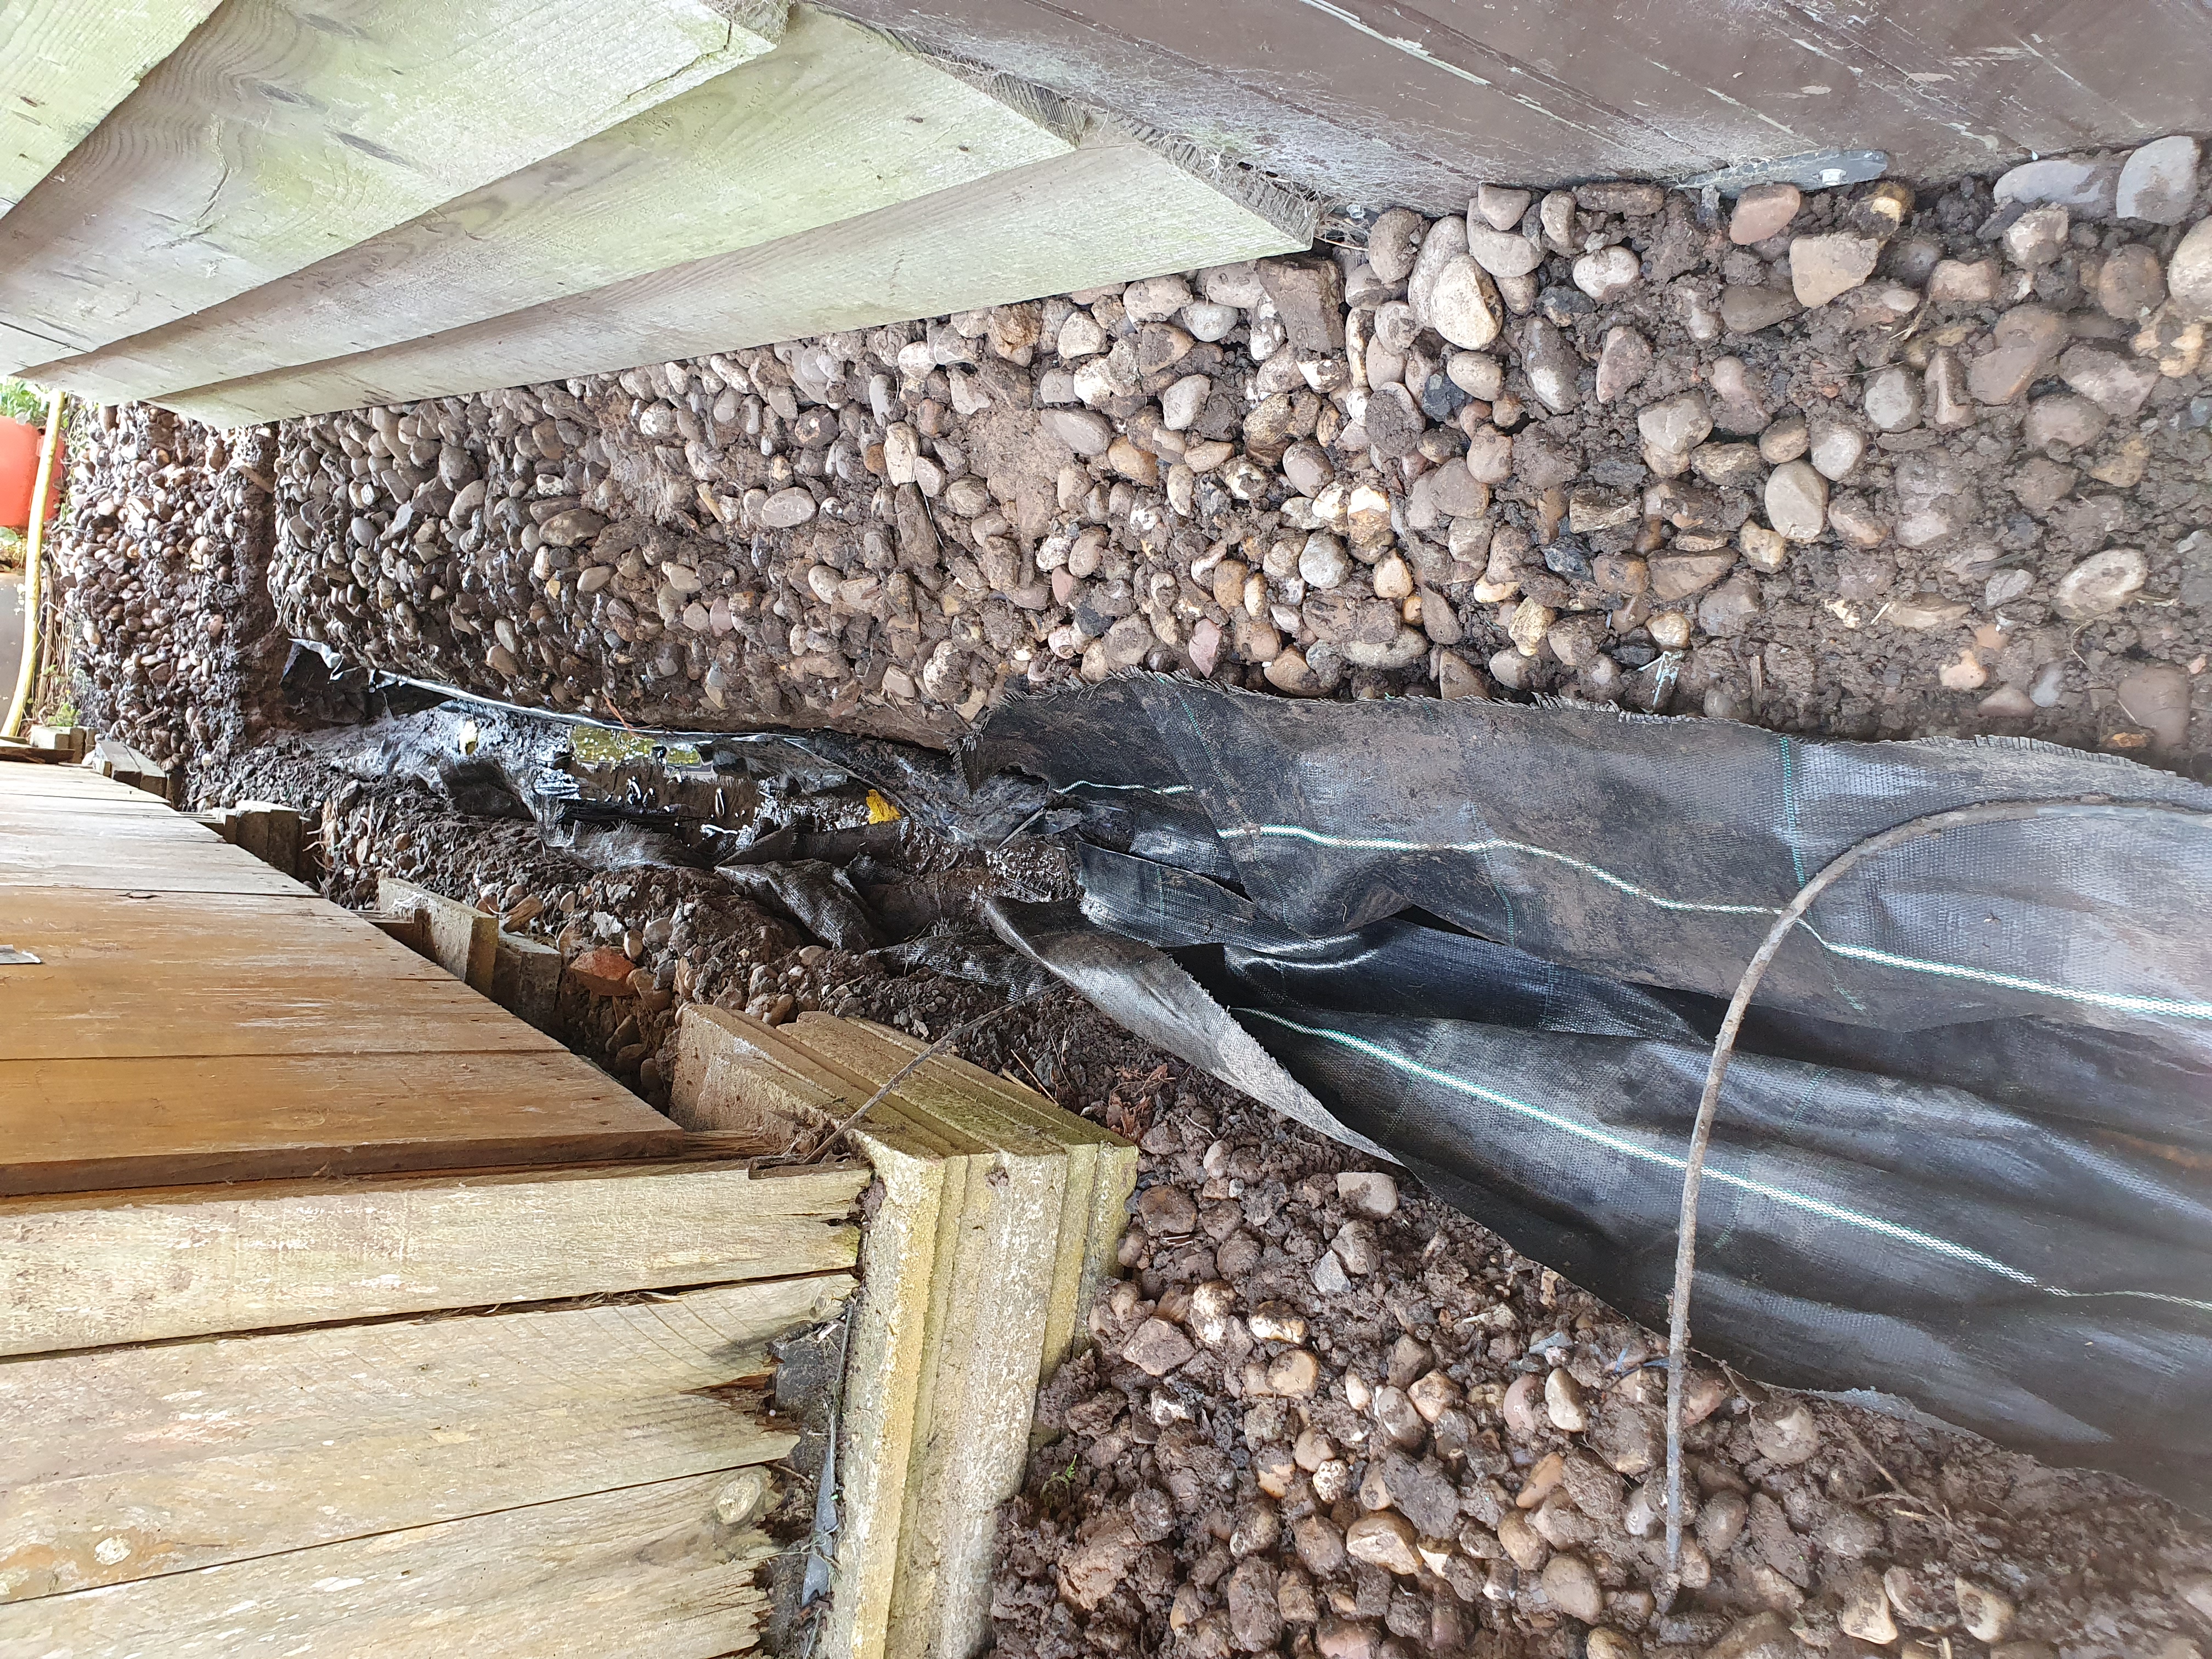
Another end of an era has been the tearing down of our completely disintegrated tool shed, which was in such bad shape that we are not even really missing it! This has been part of the work on improving the drainage around the barn. Big thanks to both Paul and Craig who have done a lot of work on this to get it to a stage where we hope to avoid having the barn flooded all winter.

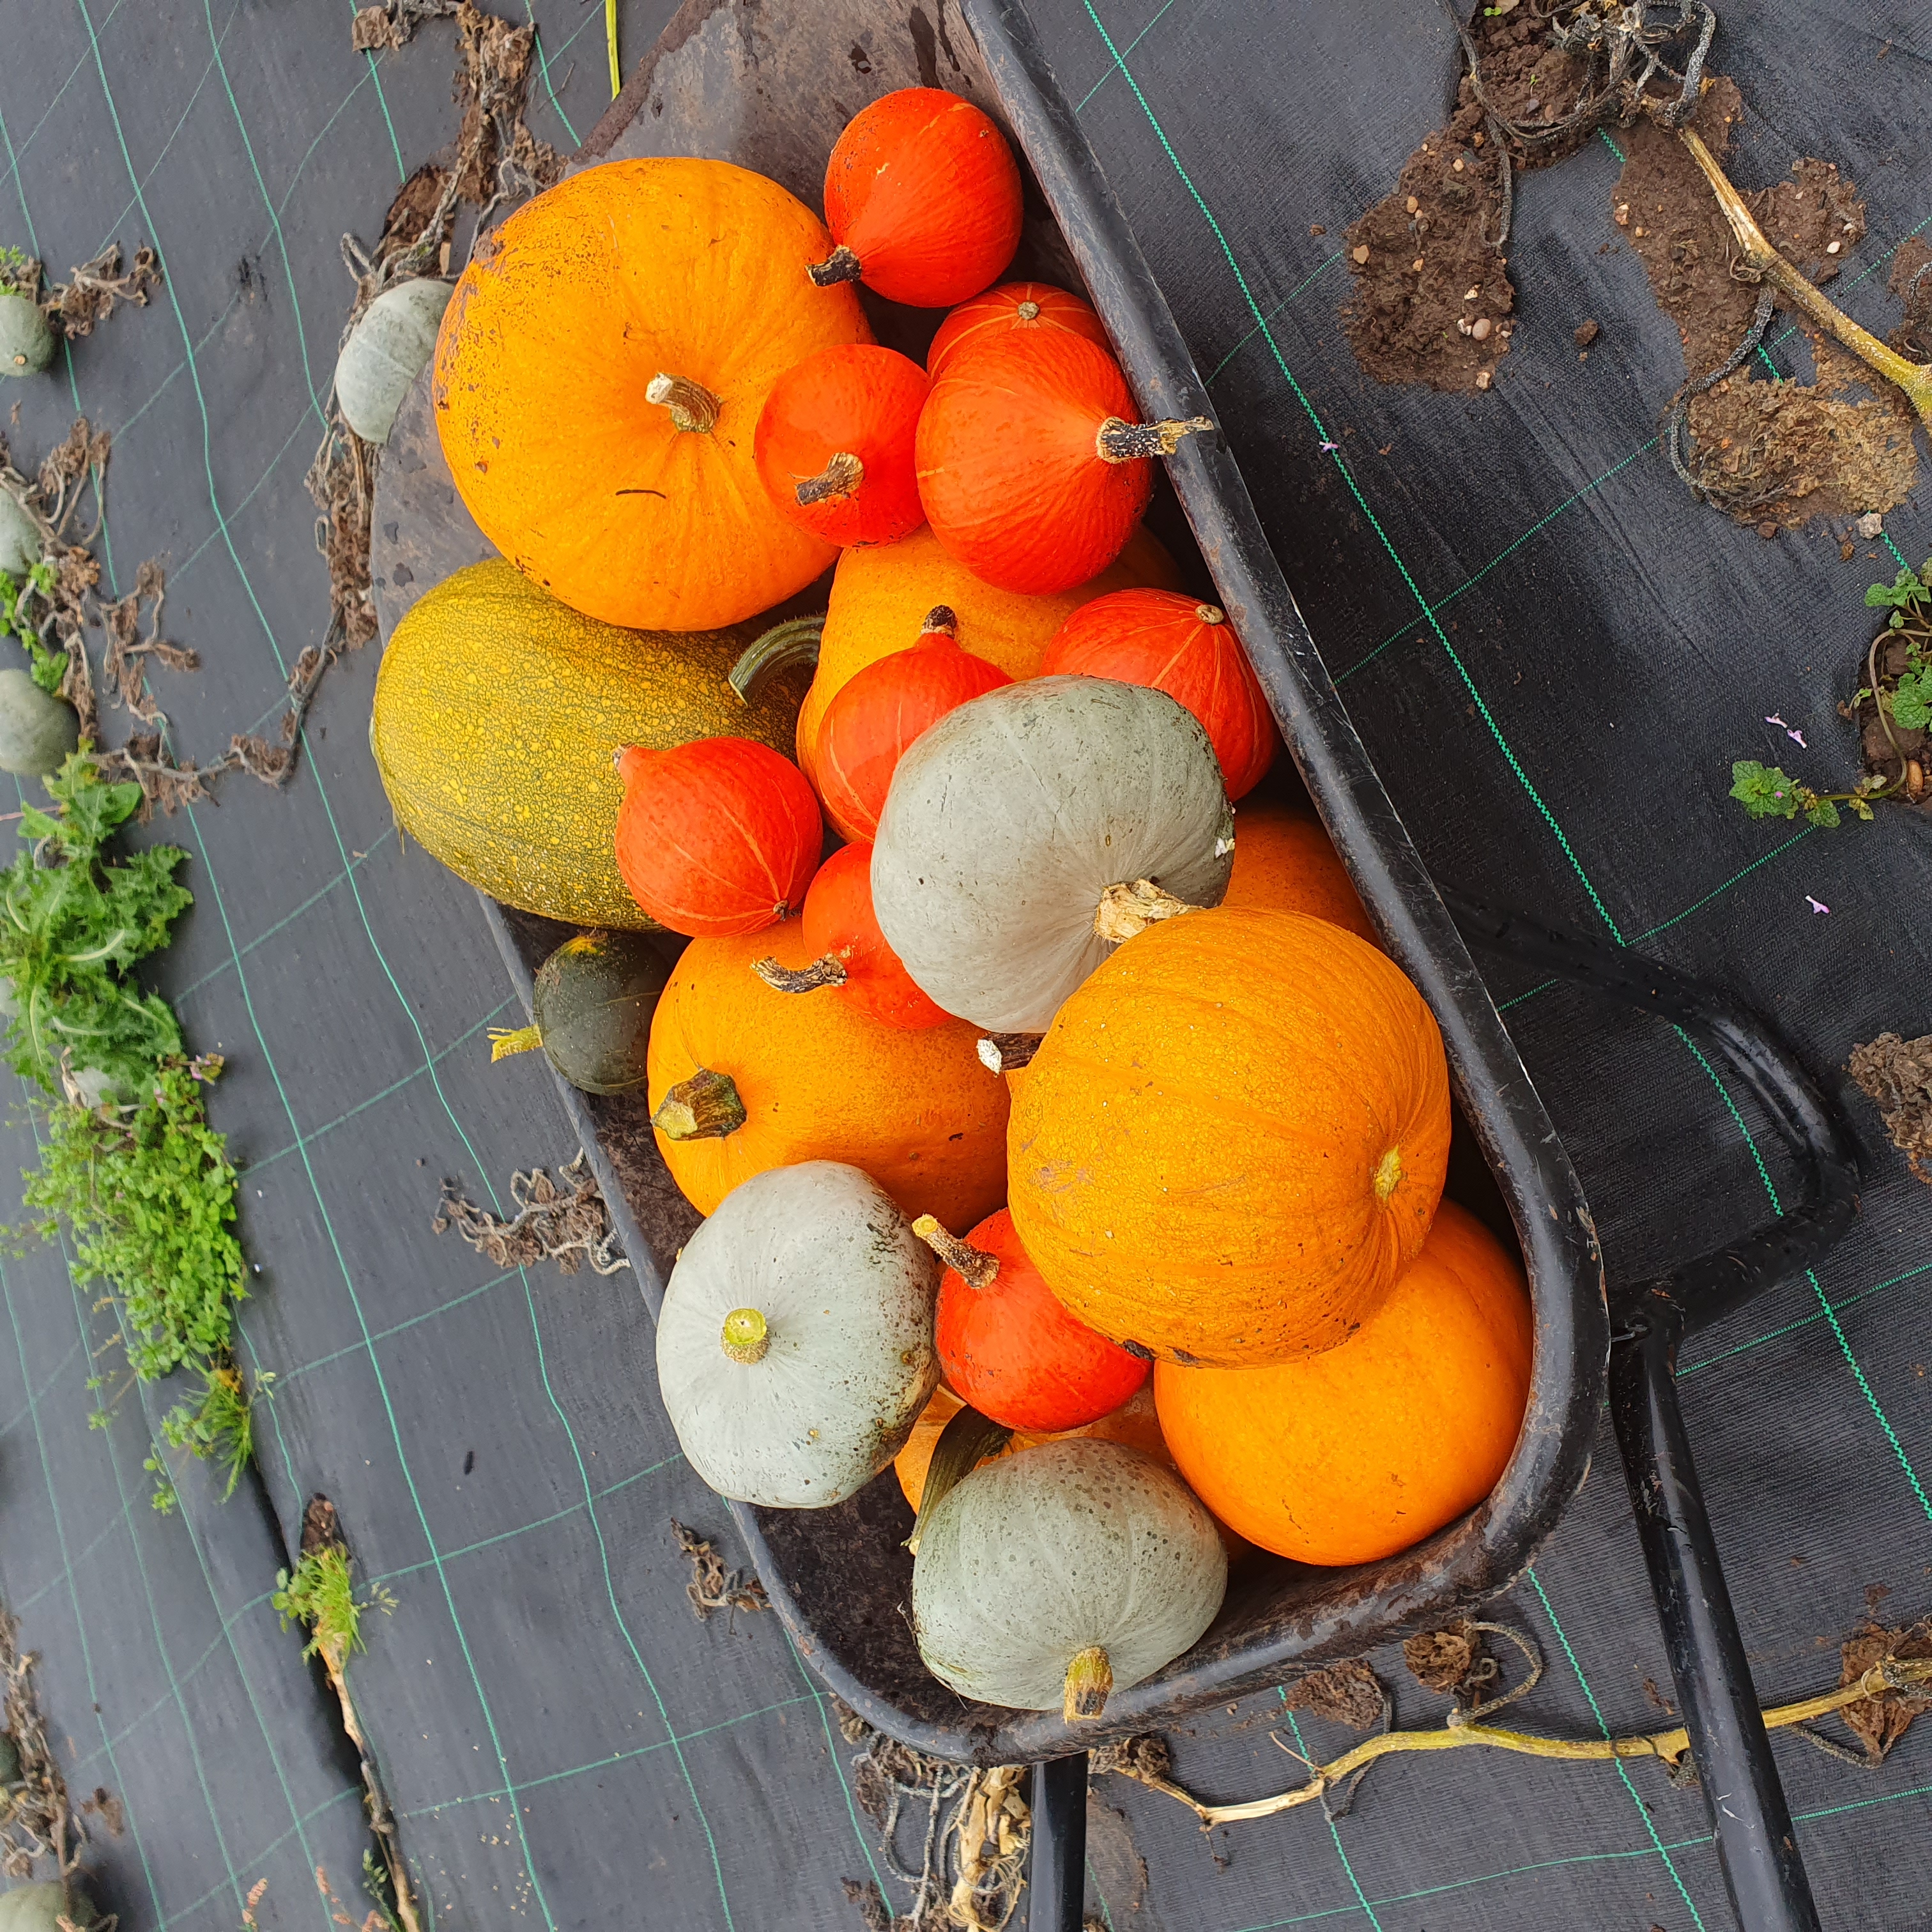
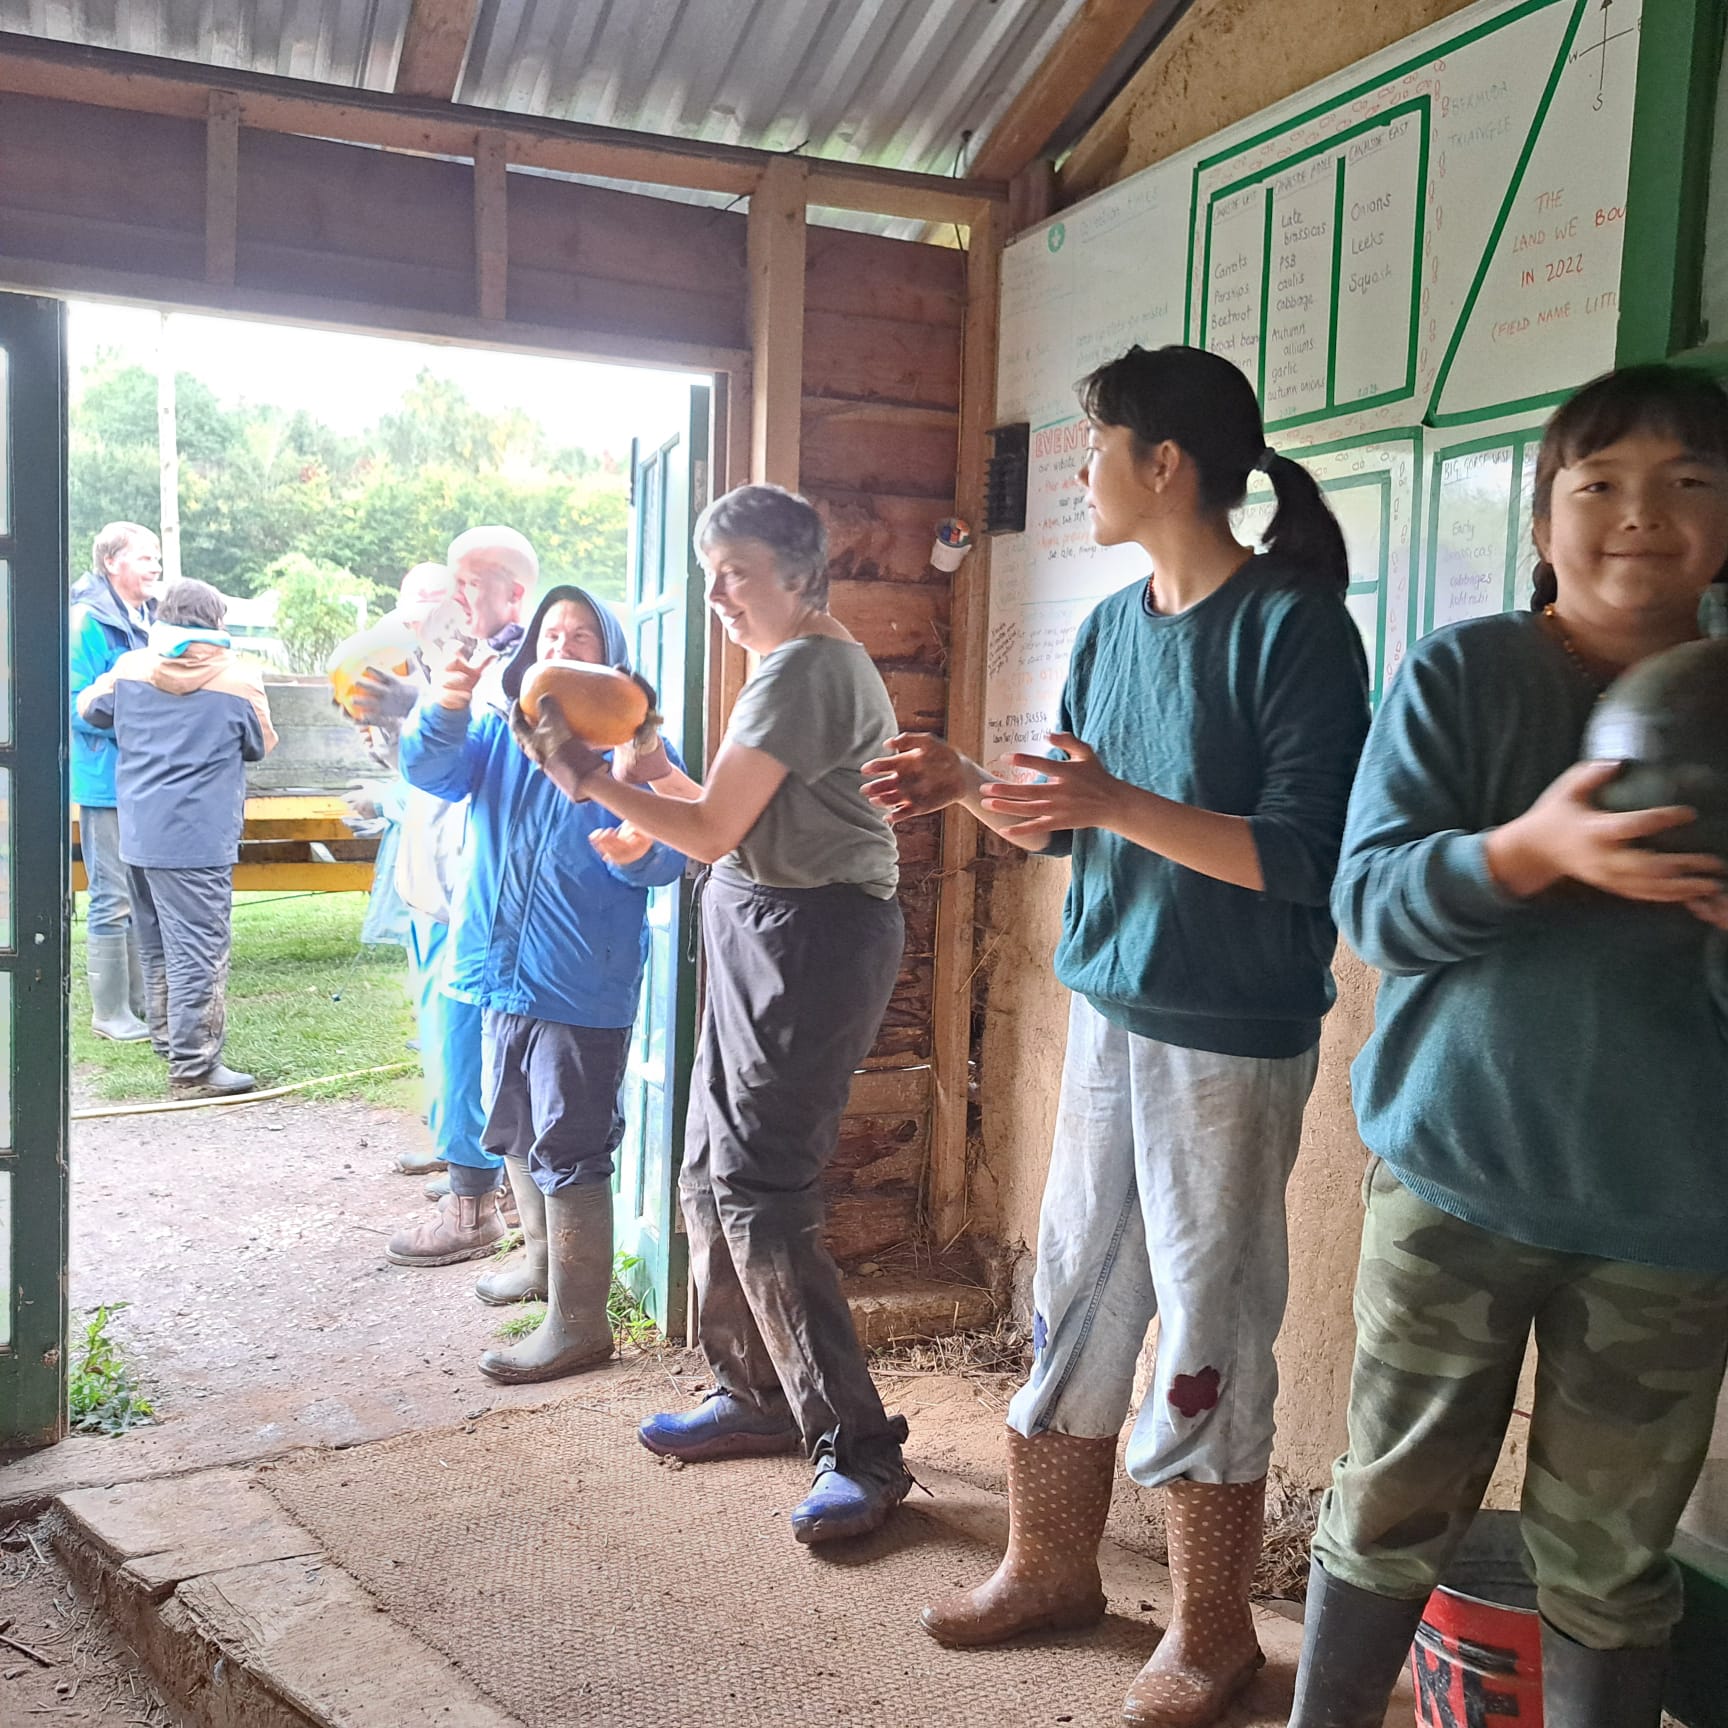
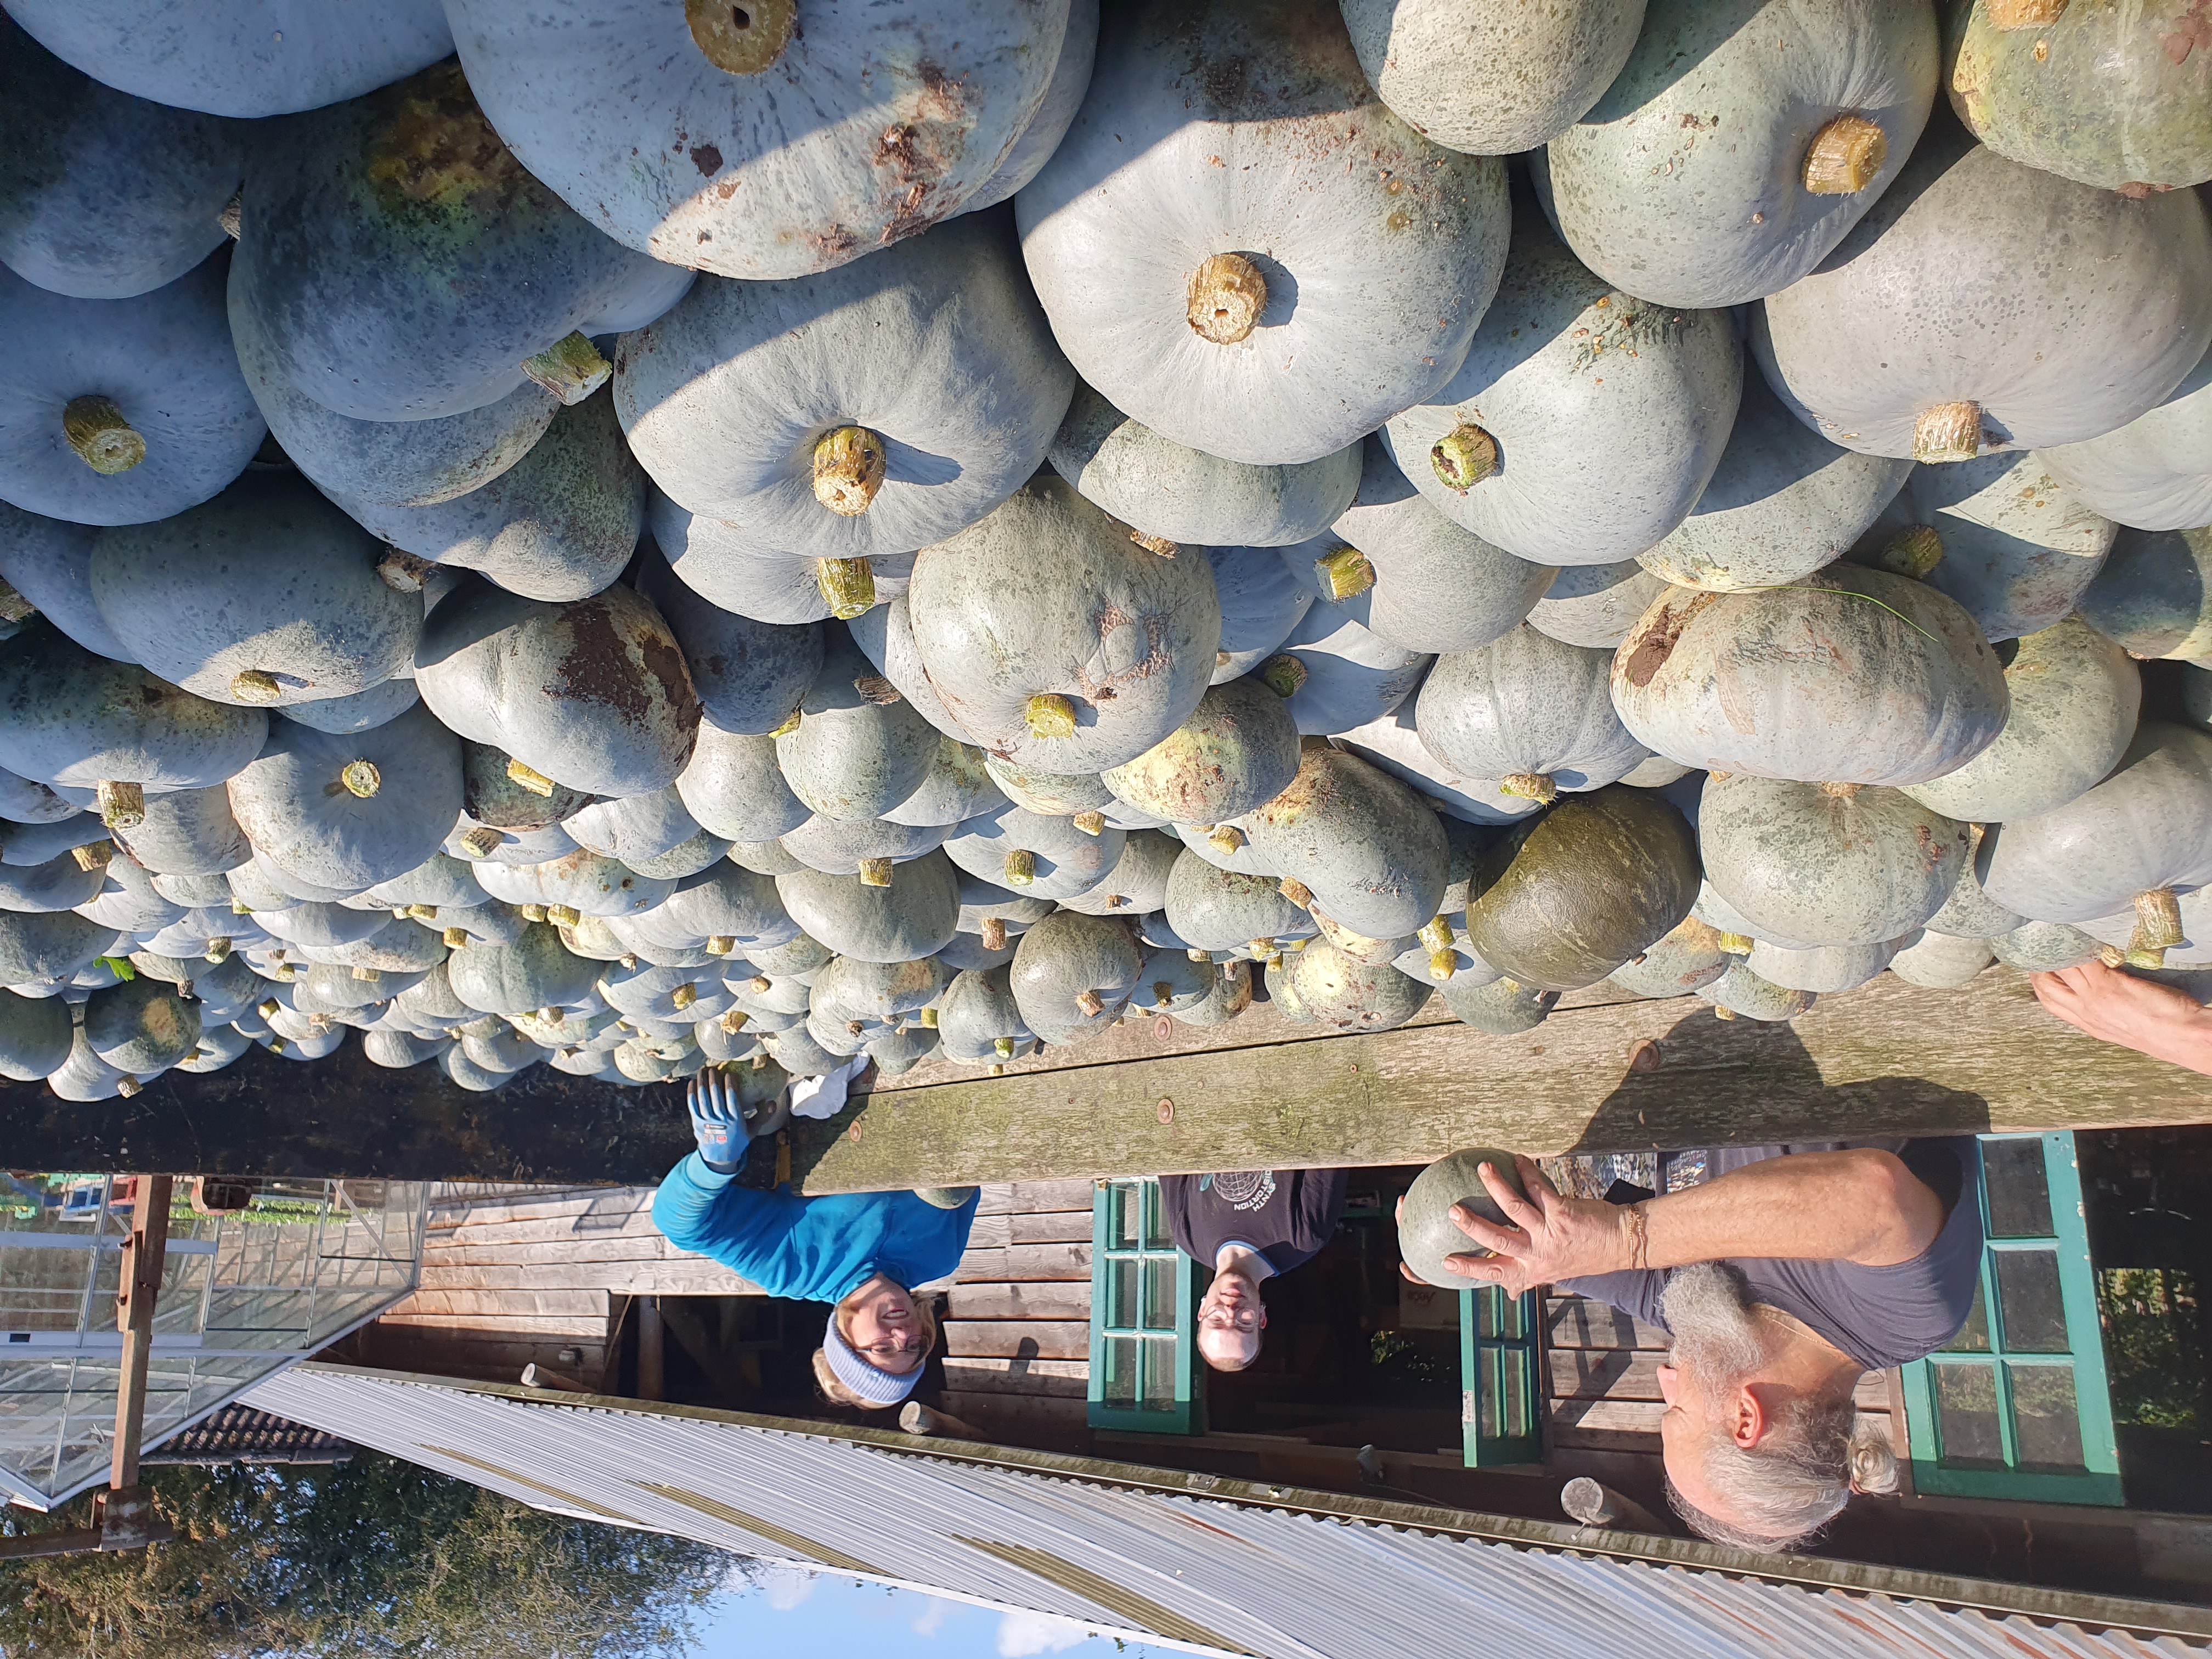
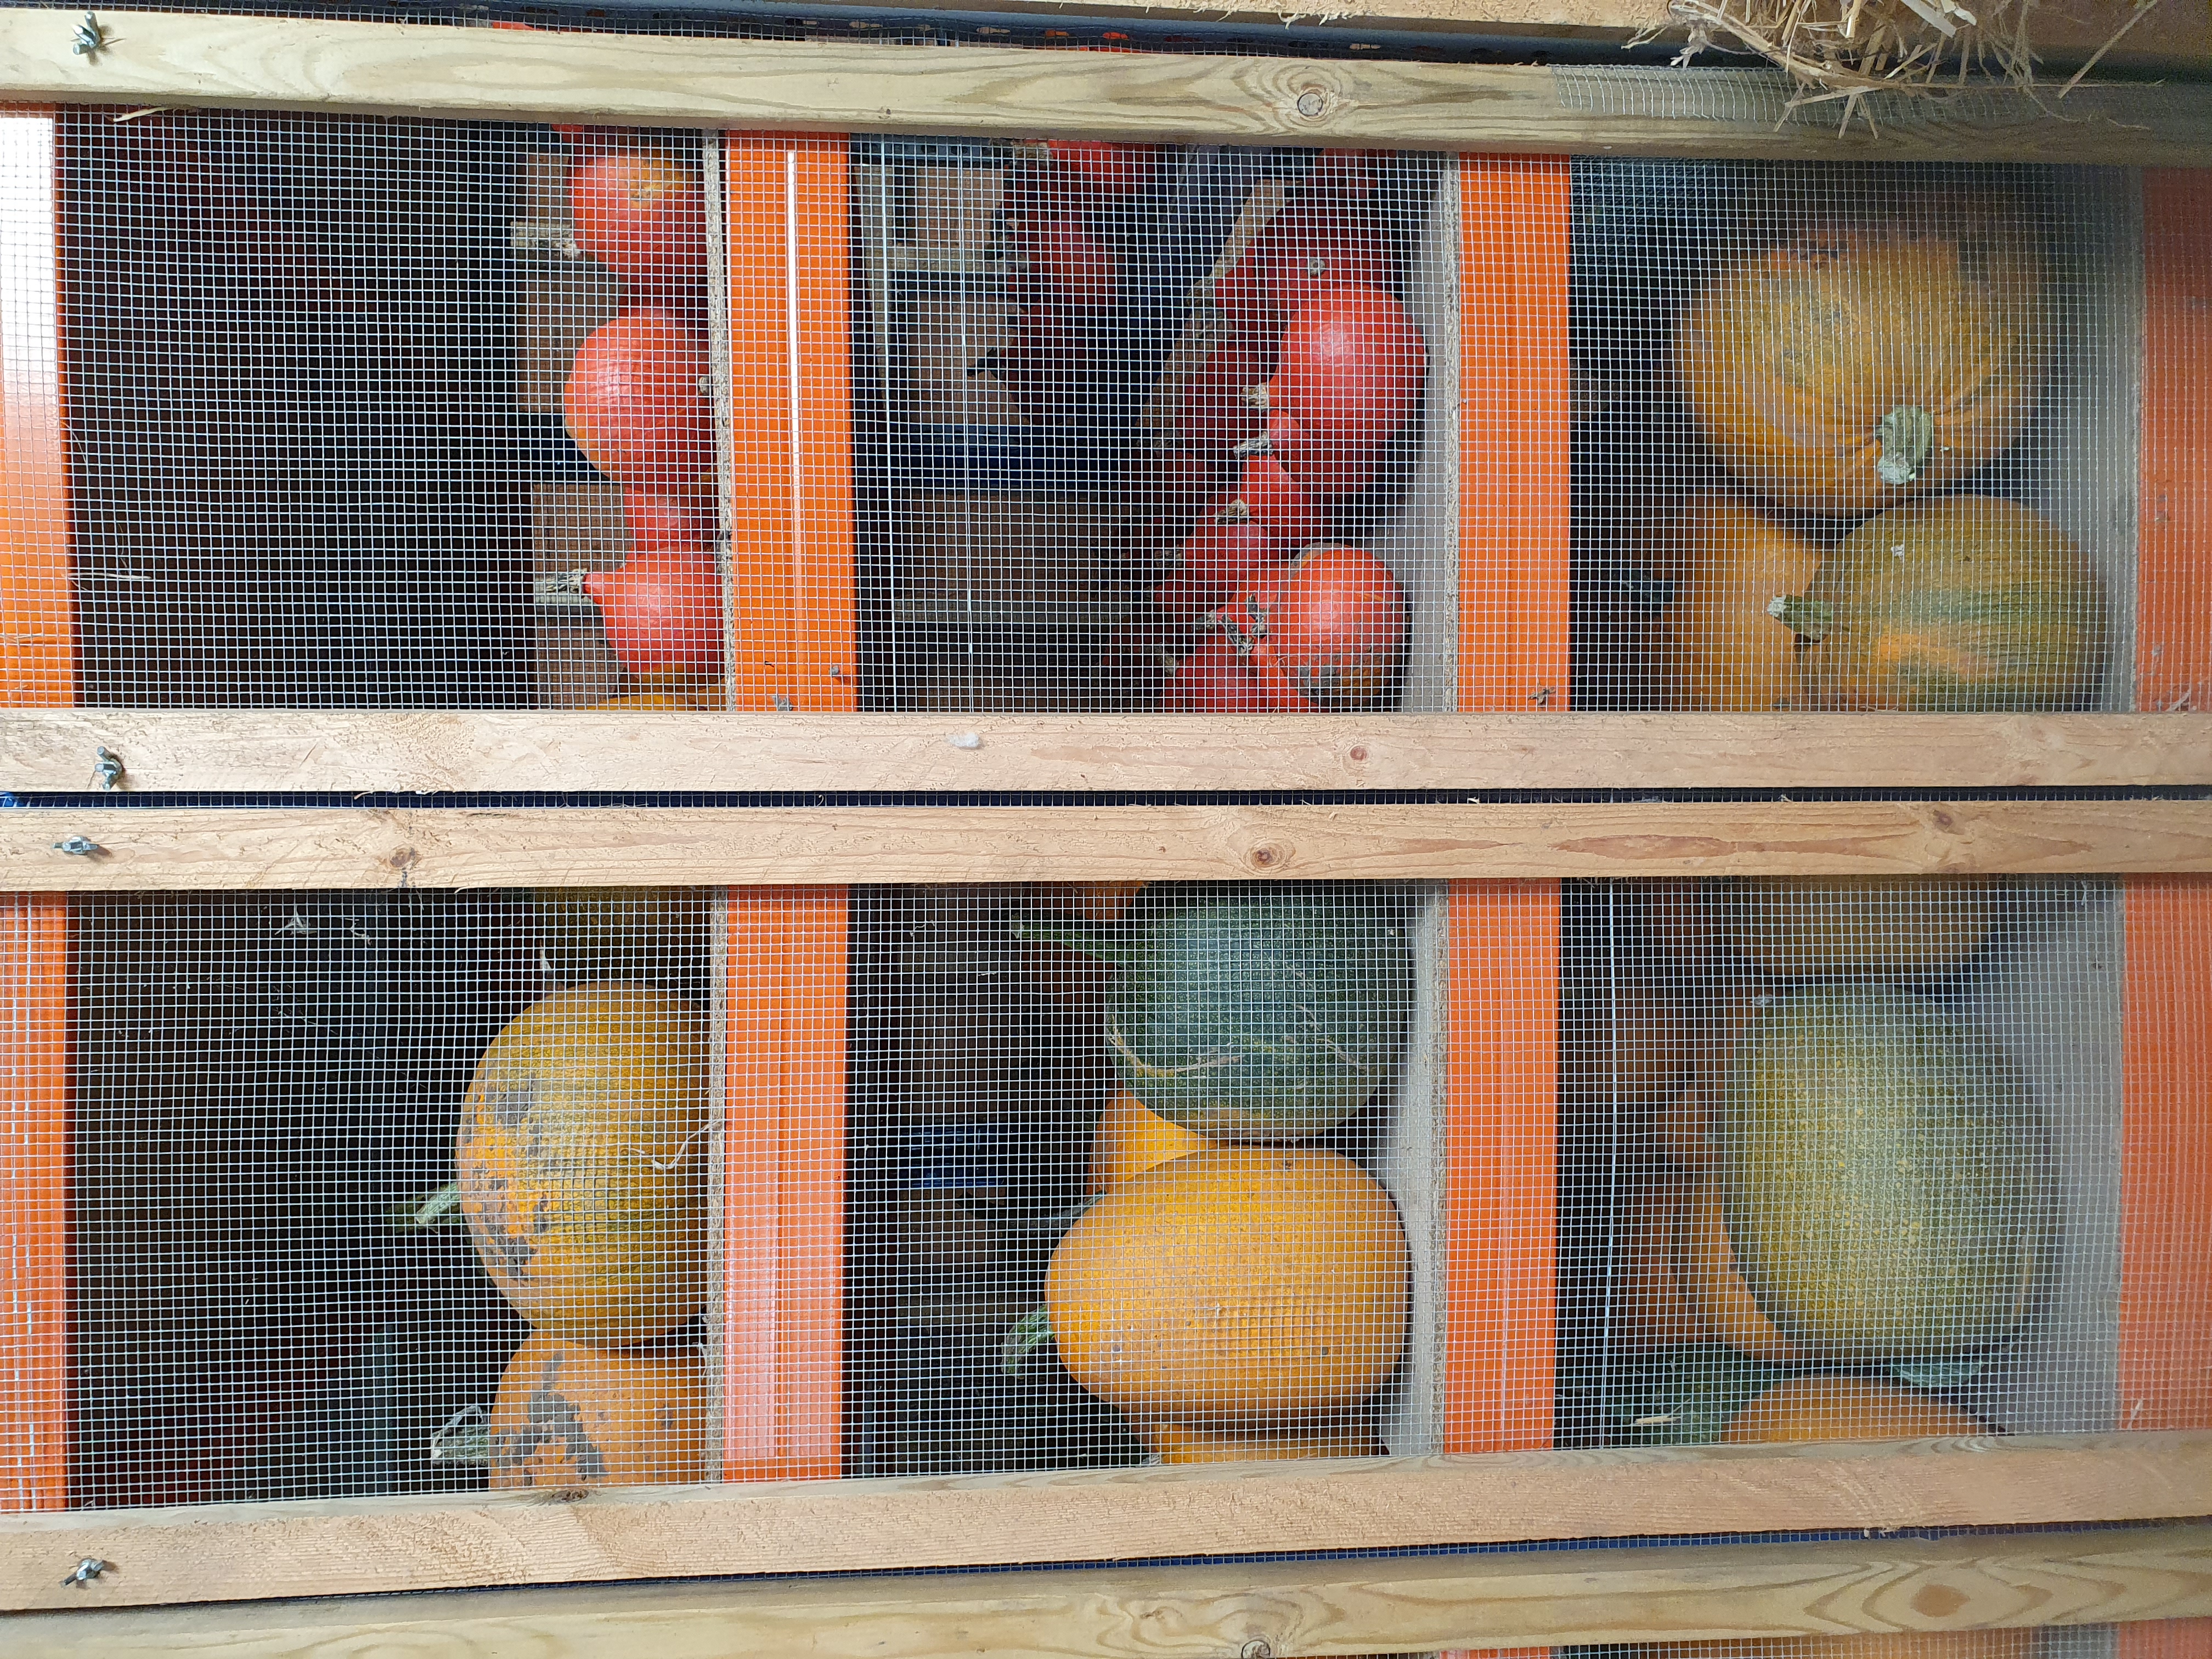
The biggest work of the last month has been a lot of our main crop harvesting. Much gratitude to all our volunteers who have been helping with this. A couple of very early frosts killed off the squash and pumpkin foliage and we had to bring them in about 3-4 weeks earlier than usual. Not only did the plants die back early, but frosts can also impact the longevity of squash in storage. We got them in within 2 days of work and stored them safely, also providing the first pumpkin share of the year in the run-up to Halloween/Samhain.
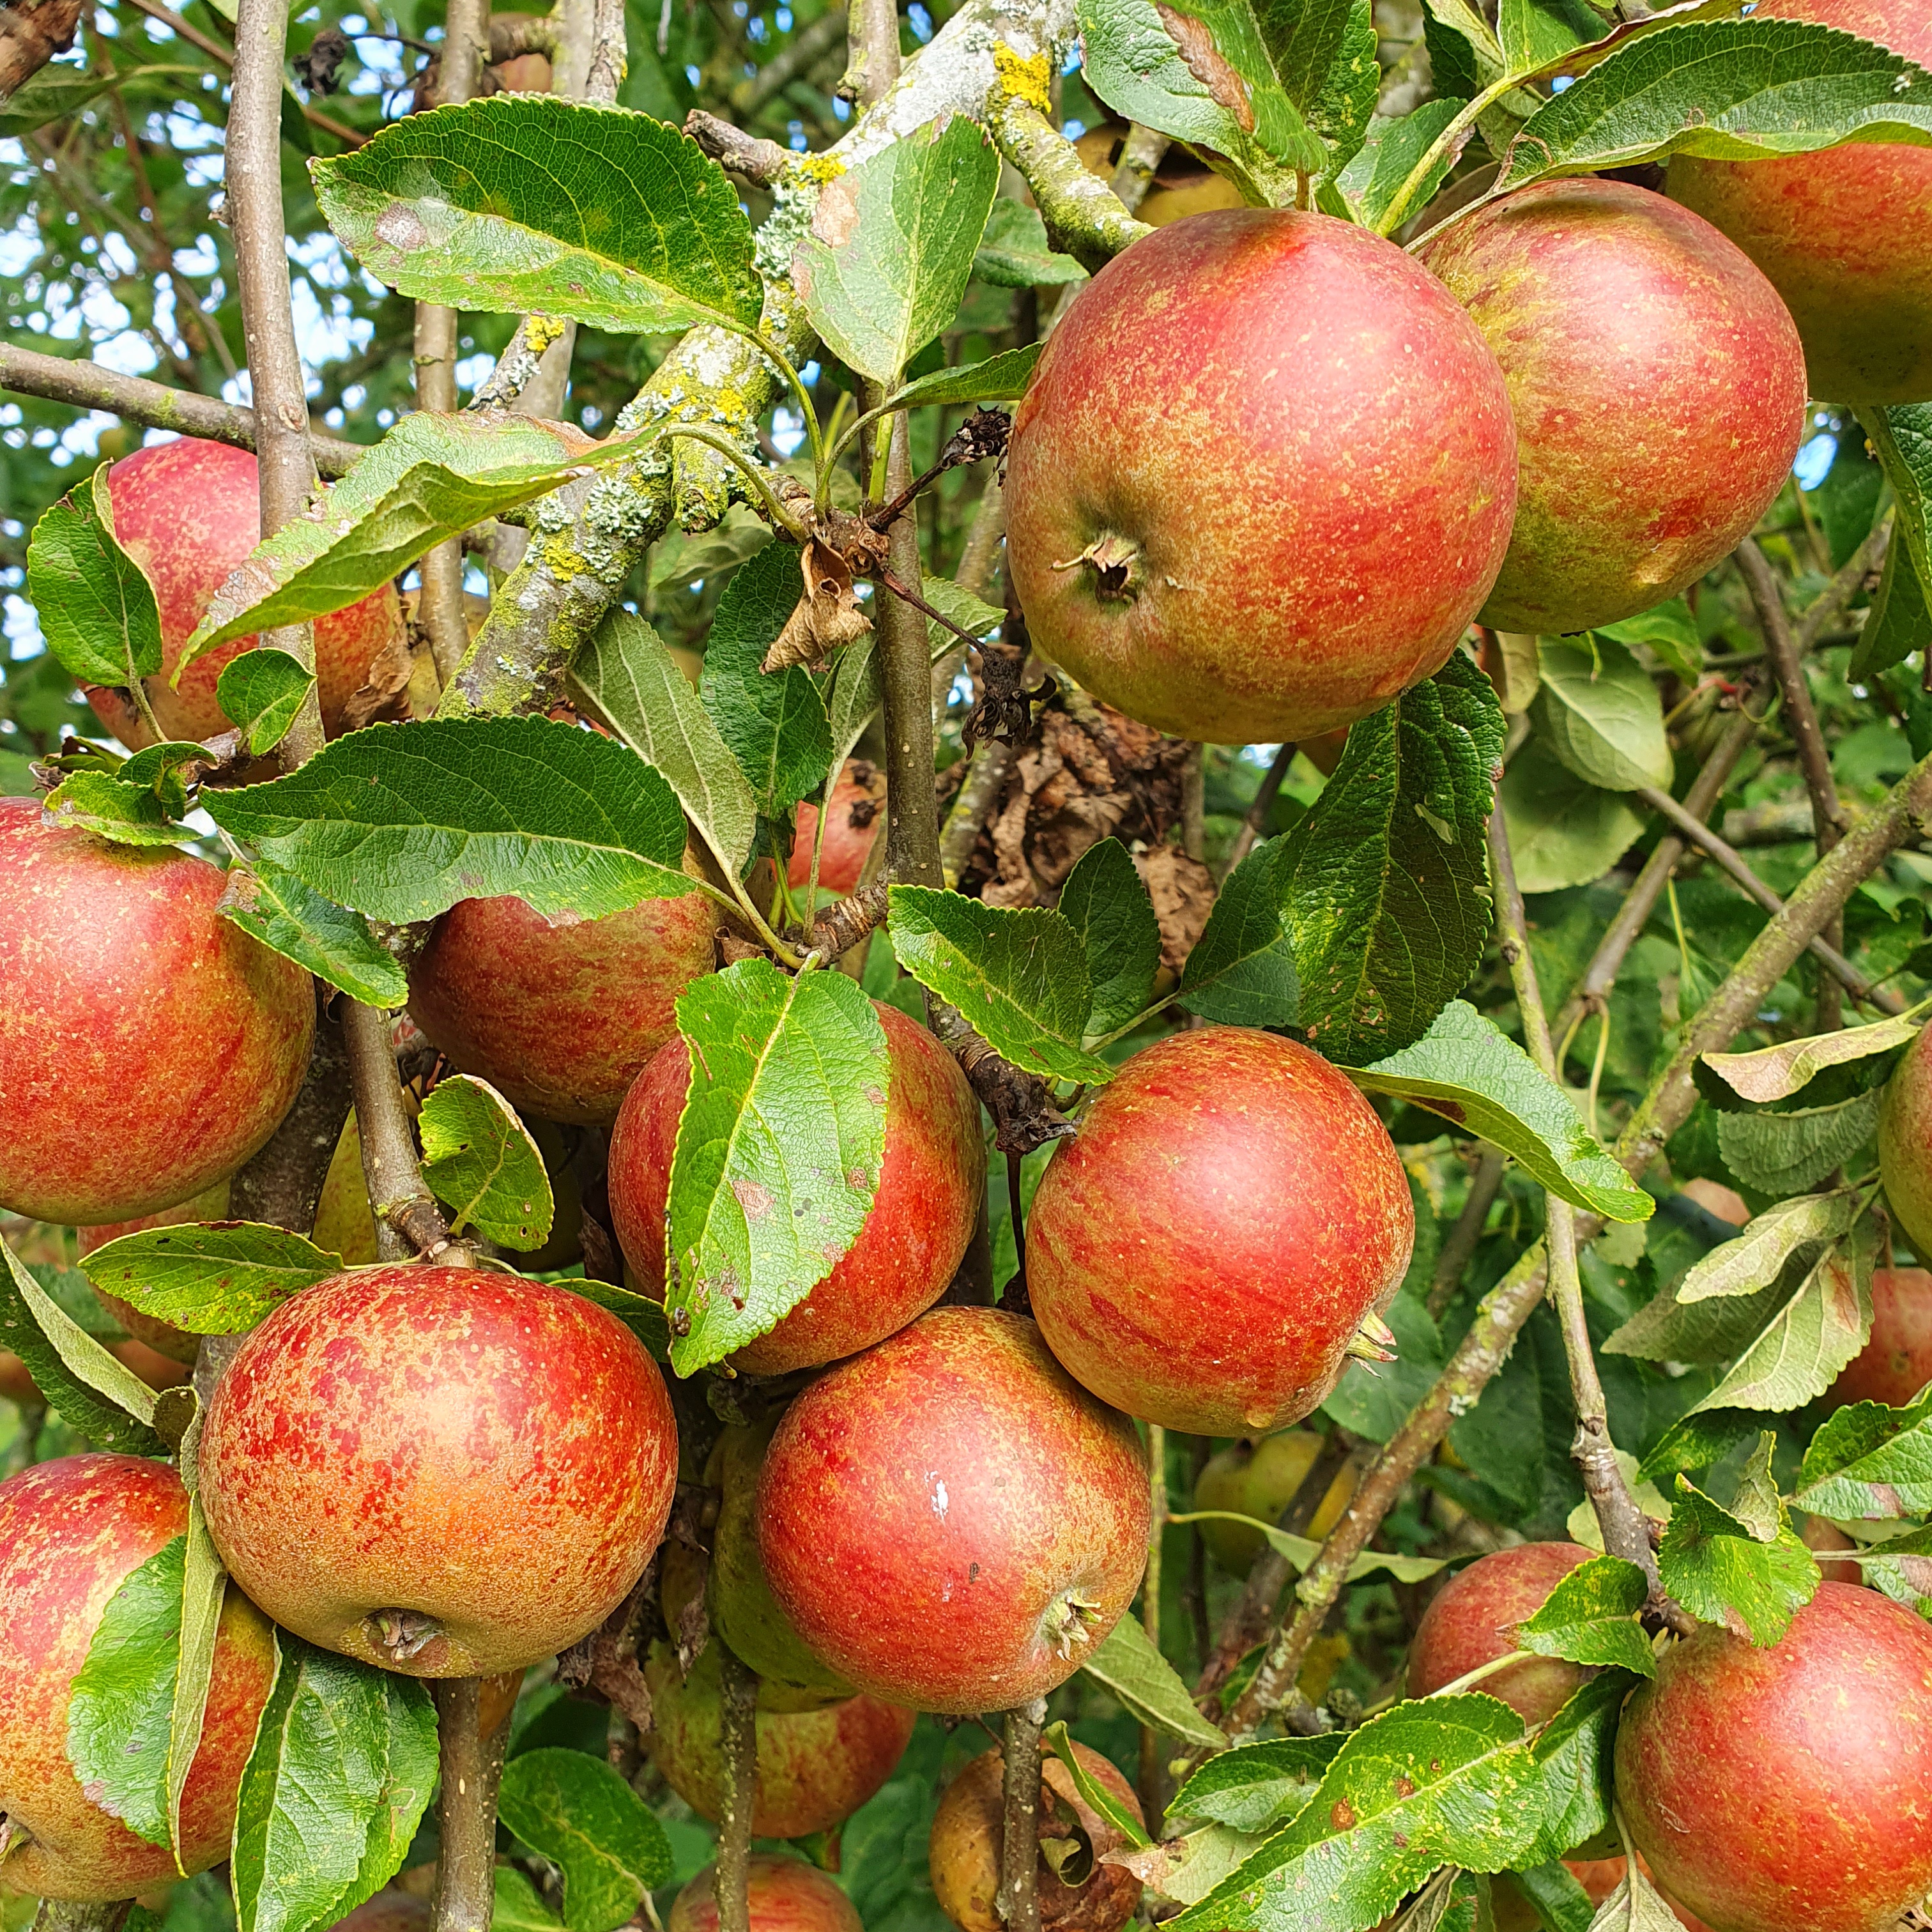
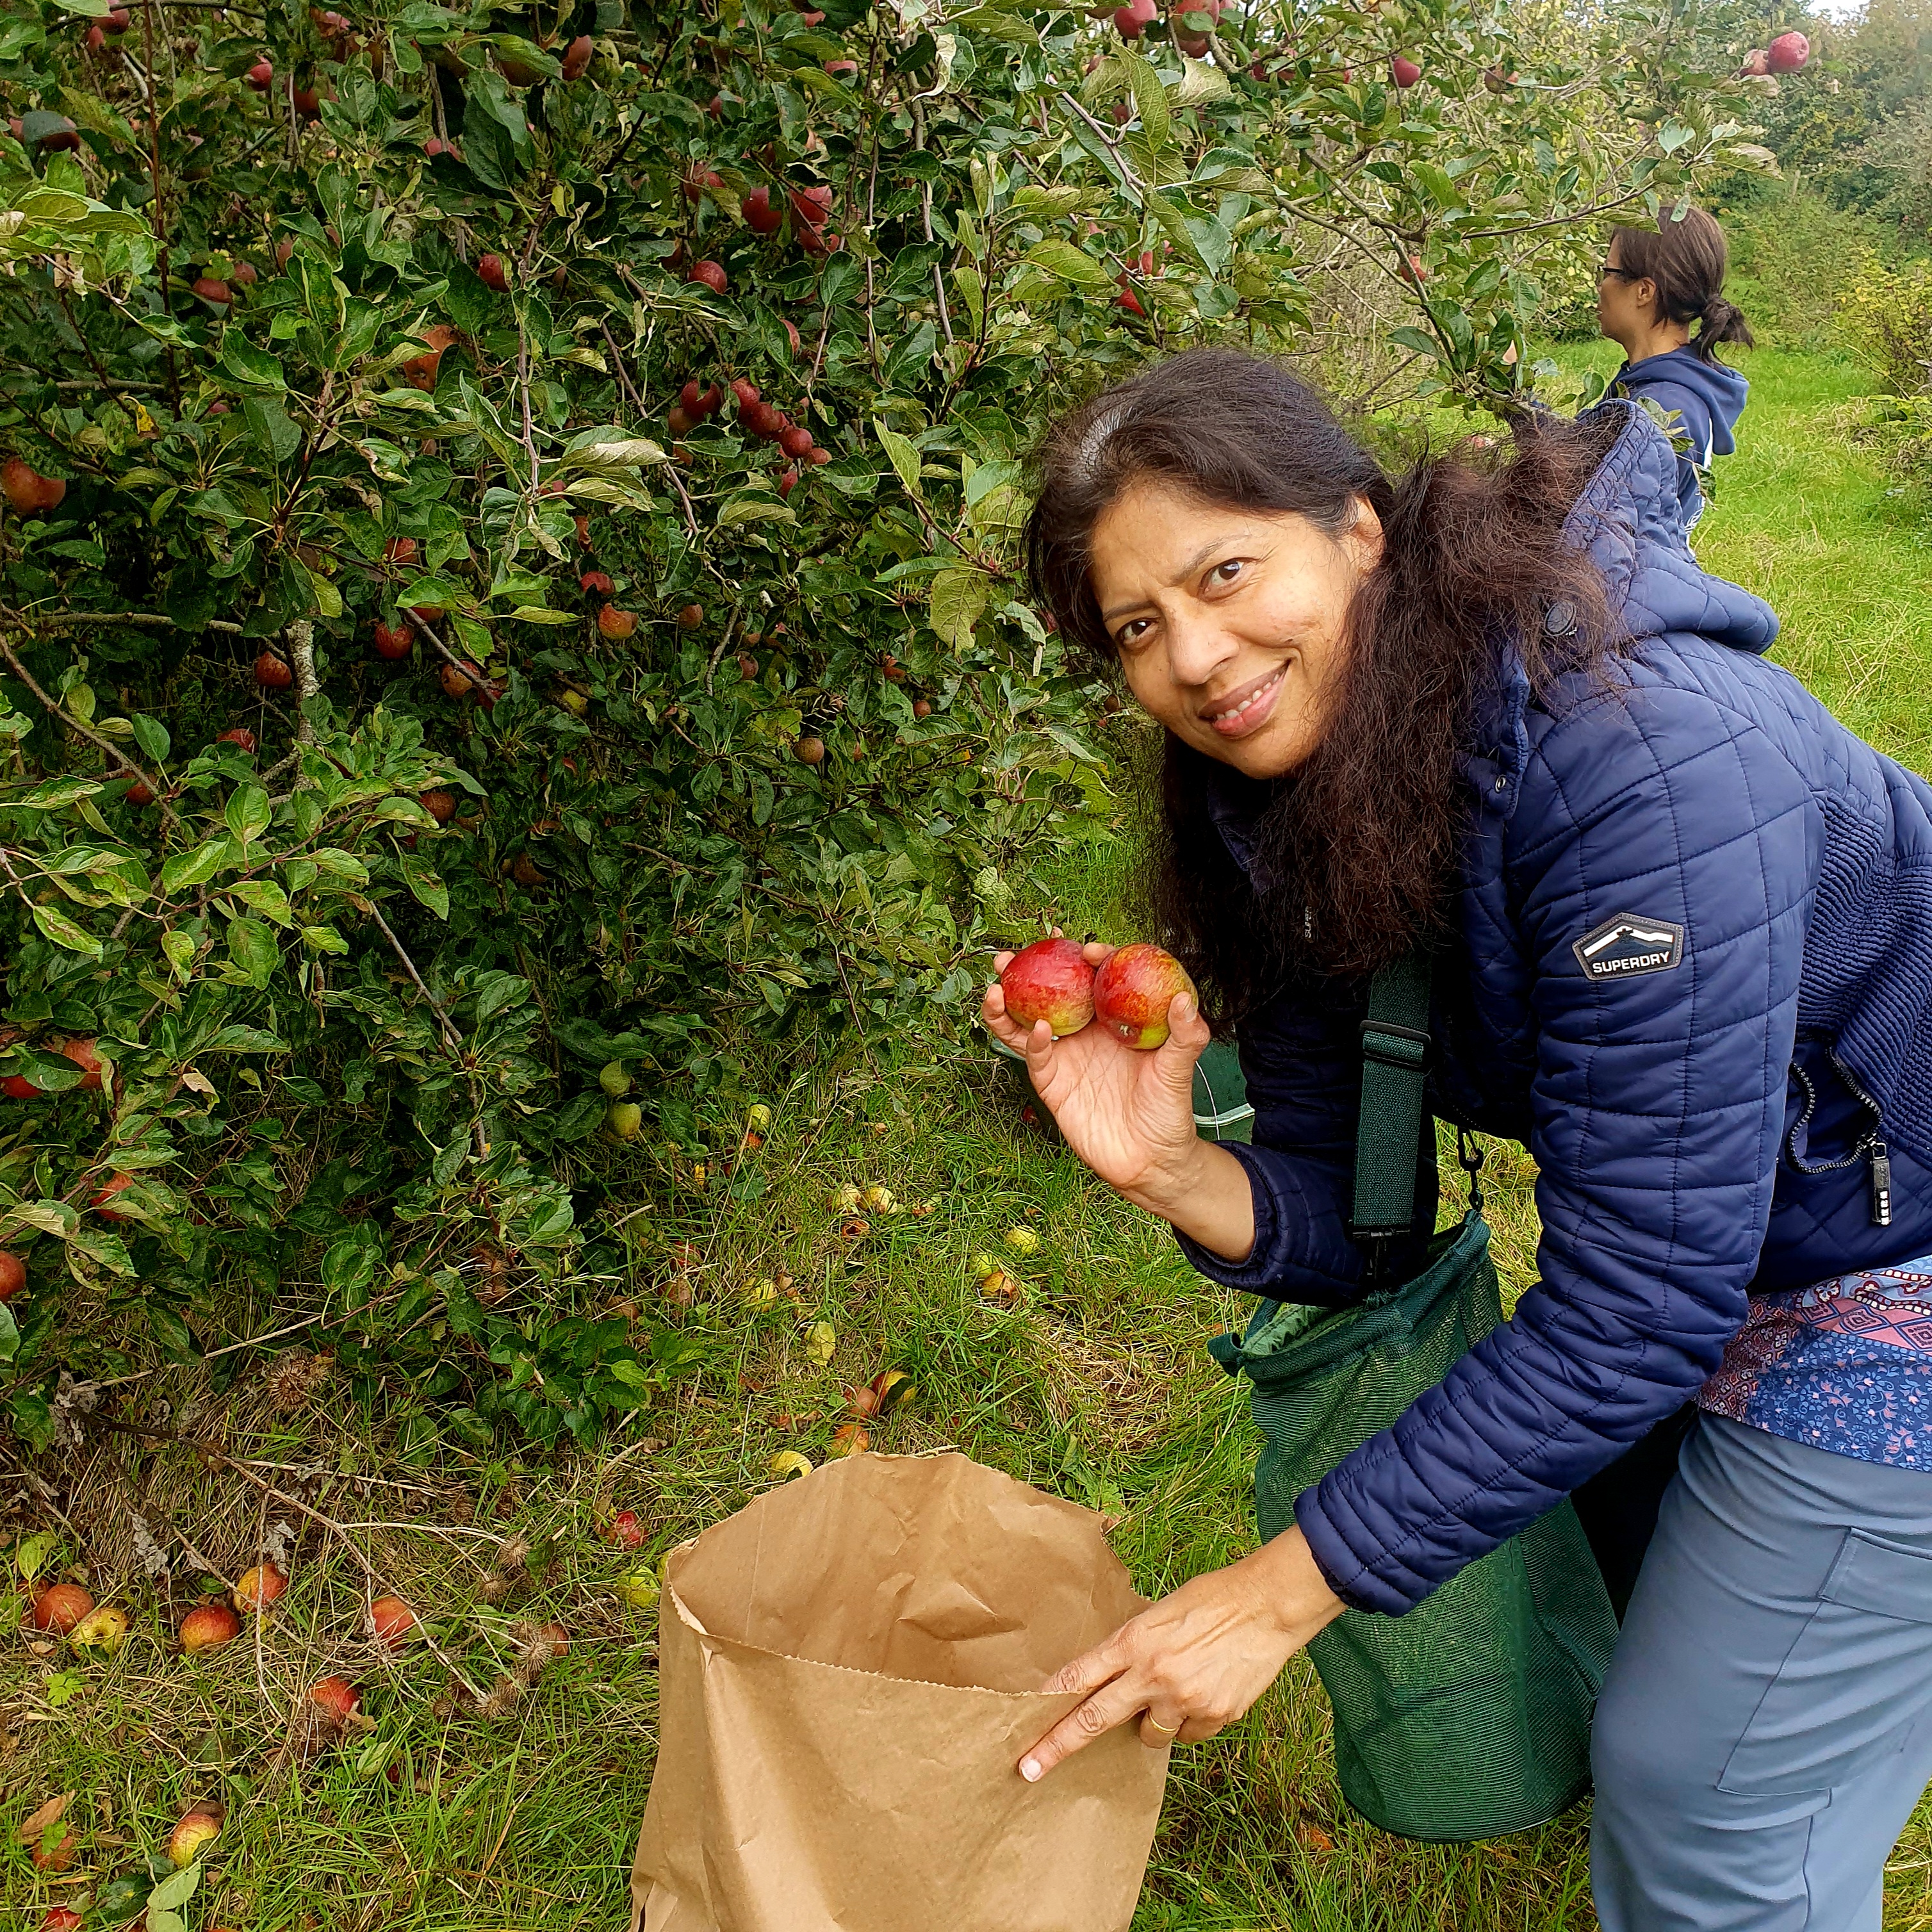

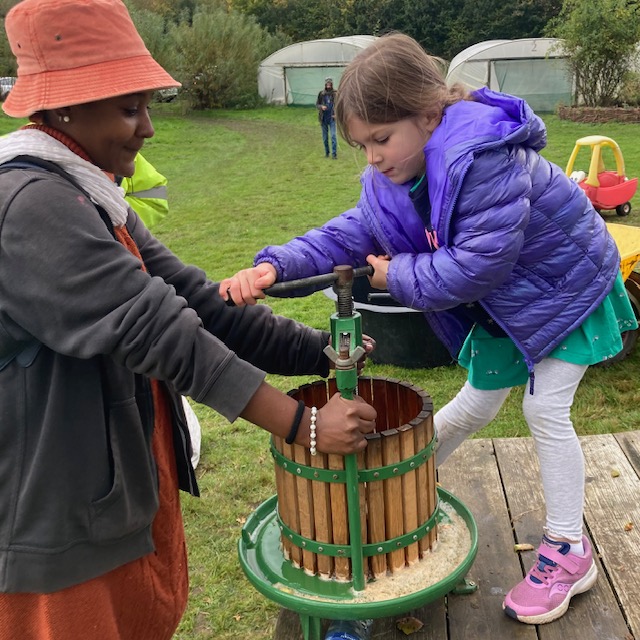
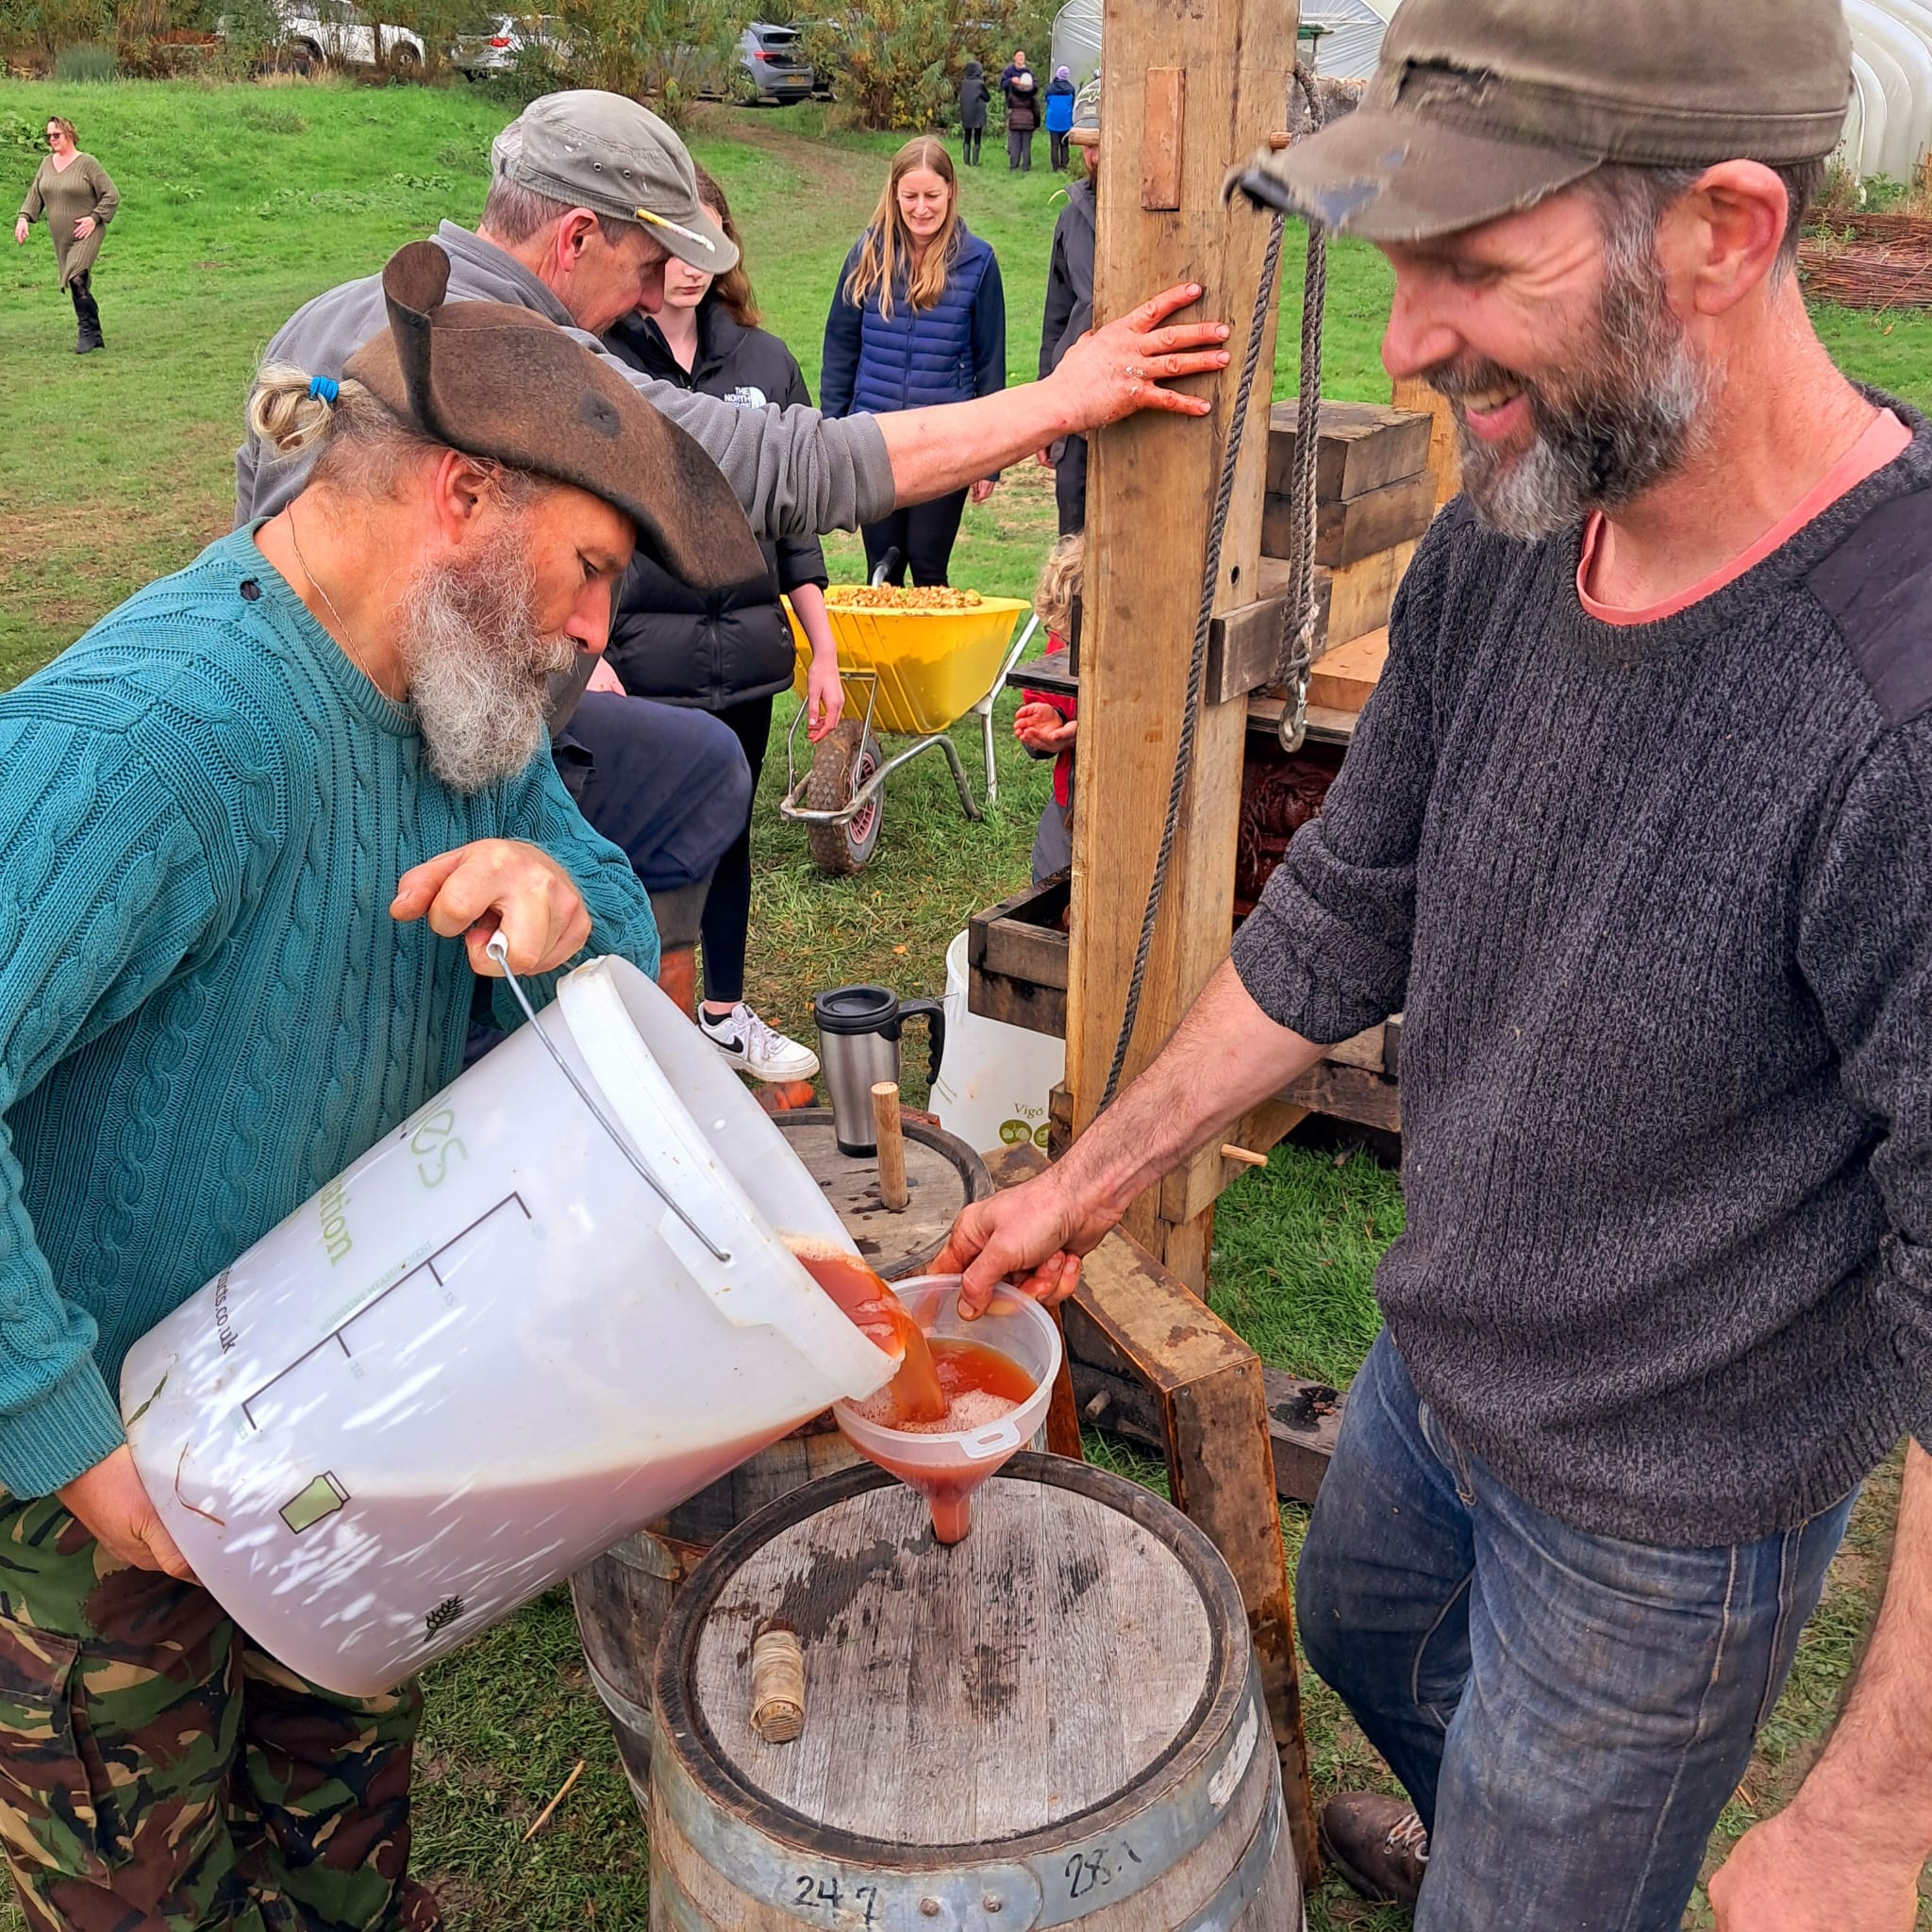
The apple harvest is ongoing, about half the crop has been brought in and by the time you read this the later varieties should all have been picked. These will be stored and integrated into your veg share over the next few months. We enjoyed the fabulous apple pressing day in mid October with the start of apple picking and lots of juice making.
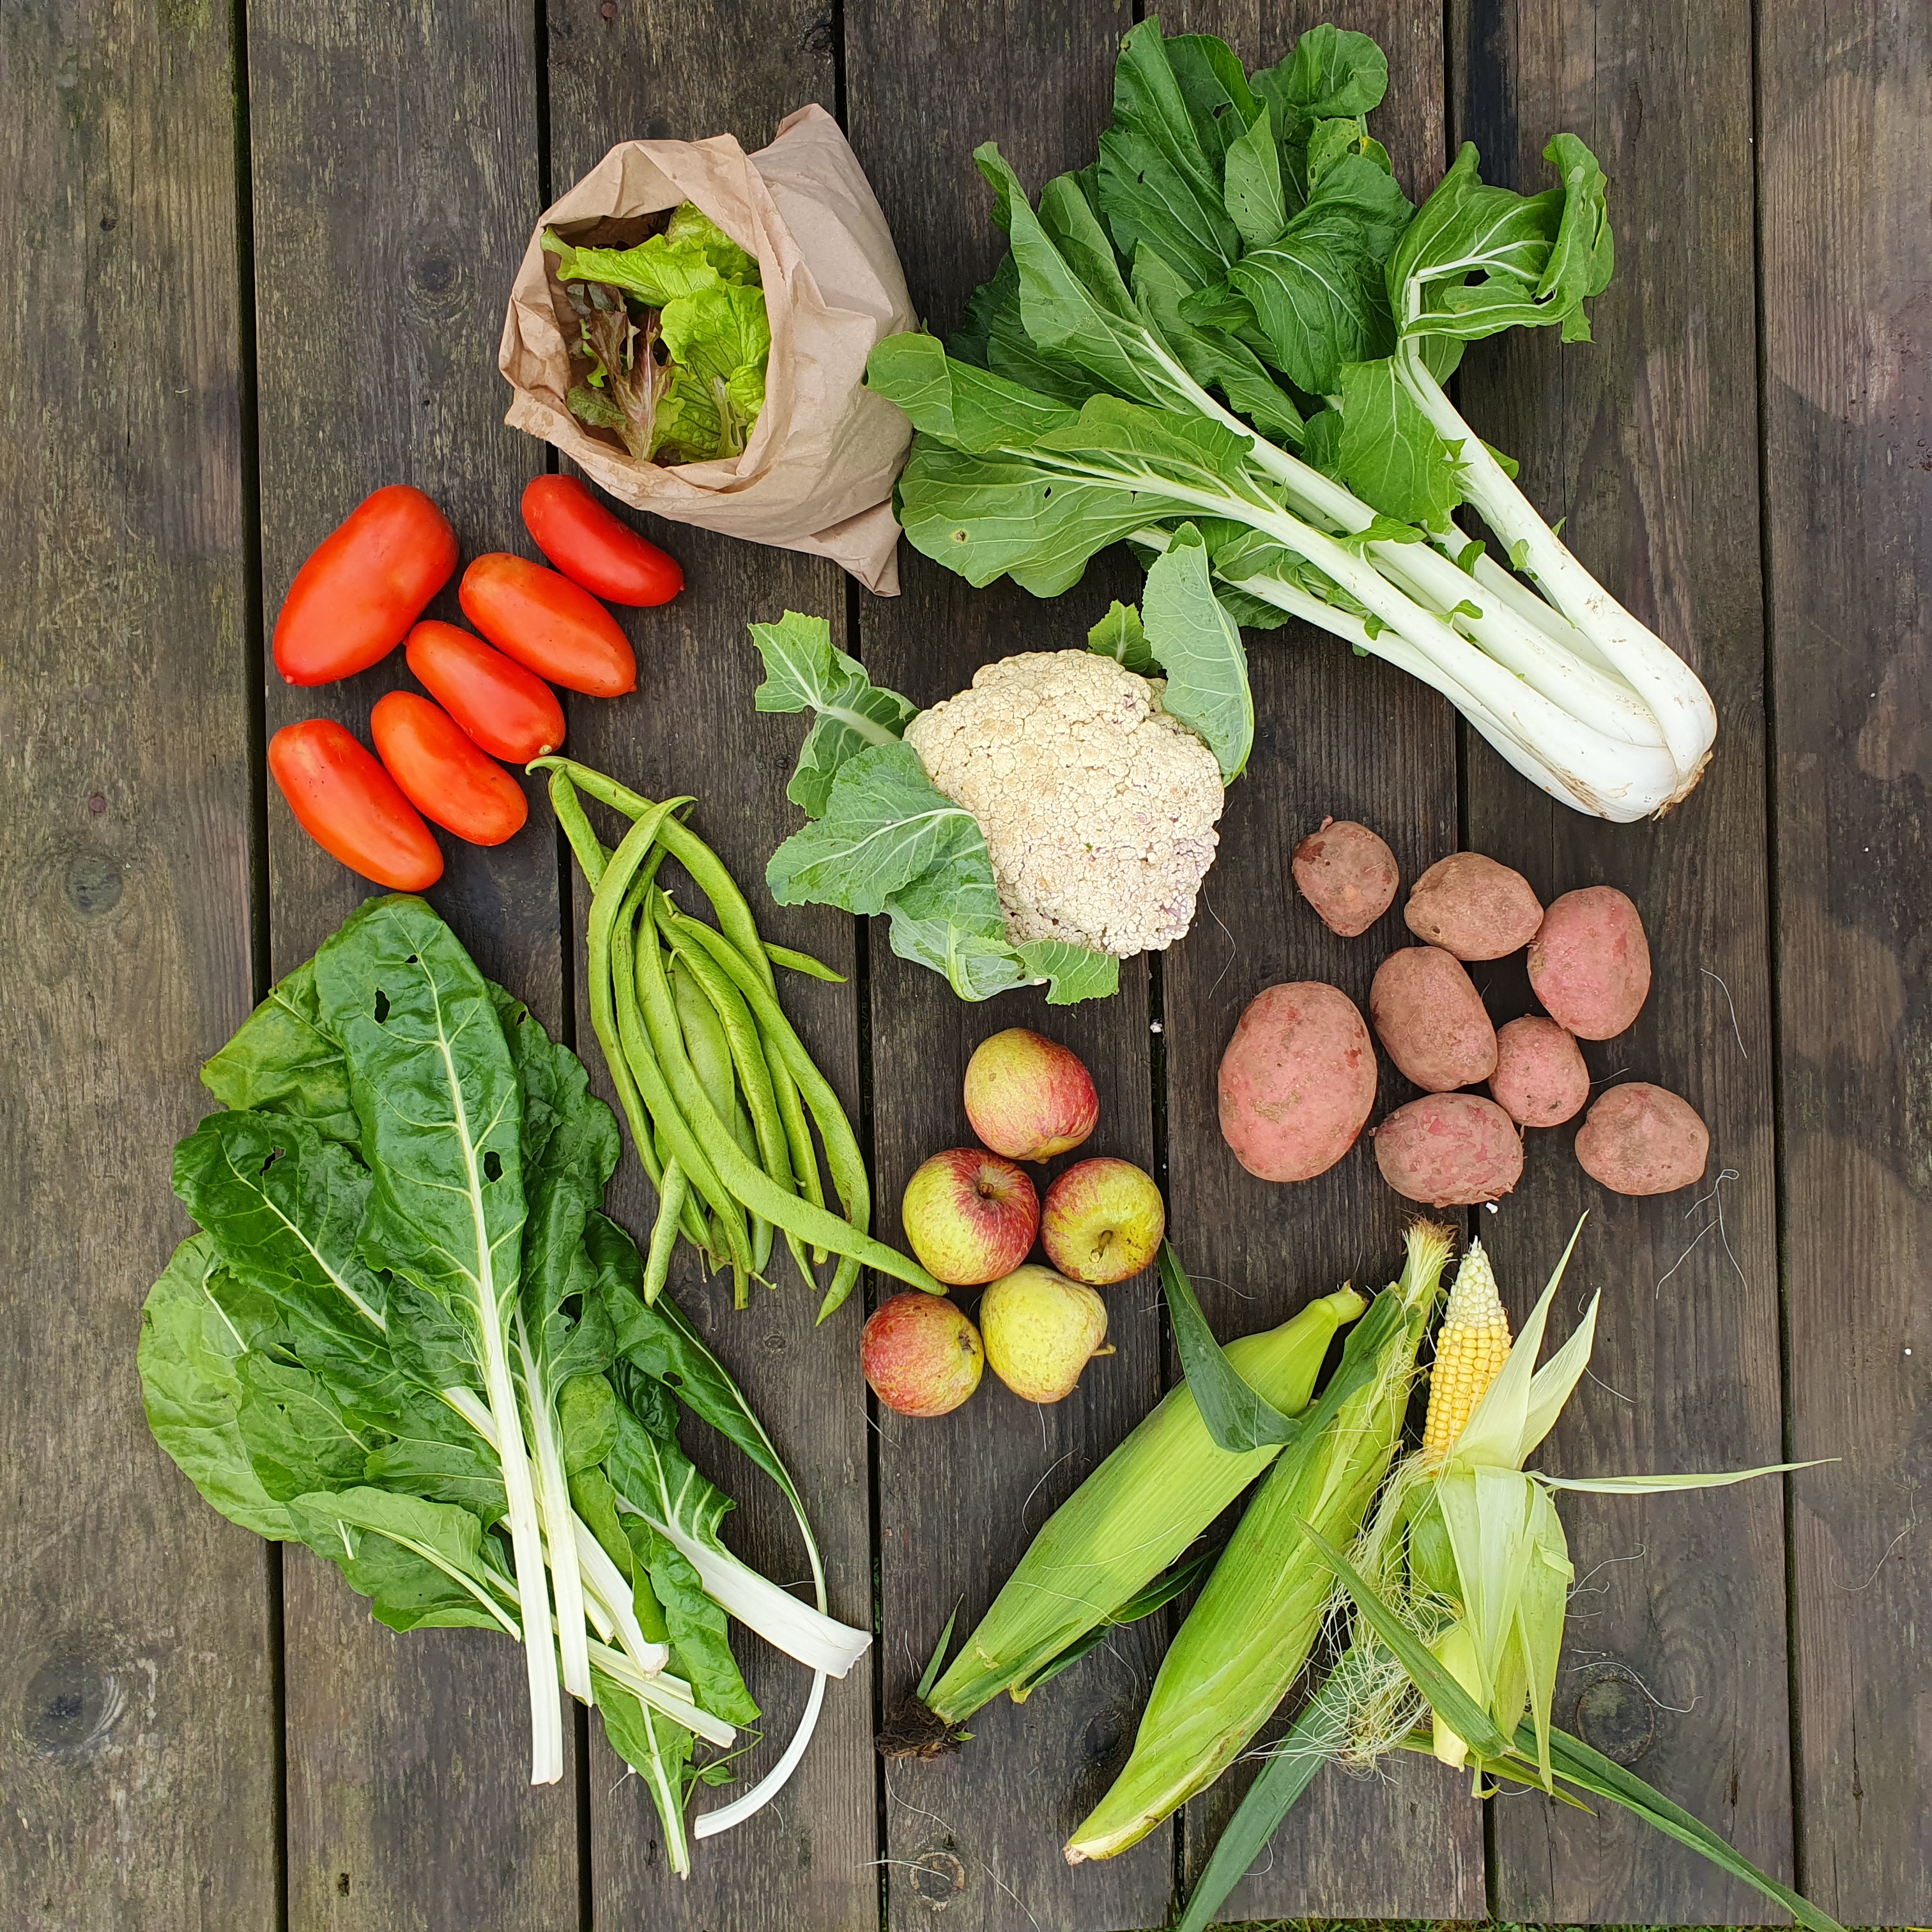
The share has been a real array of autumn colours; leafy greens are still a big part of the share with some huge pak choi, beautiful chard and we had a lovely couple of shares of tasty sweetcorn (which are not getting enough sunlight hours in Britain and often struggle with growth here). We had some surprise cauliflowers which came up a lot earlier than expected and made a great addition to the share for a few weeks, and we particularly enjoy the amazing purple turnips. It’s been another strong year for tomatoes which have been abundant all the way through the summer until now.
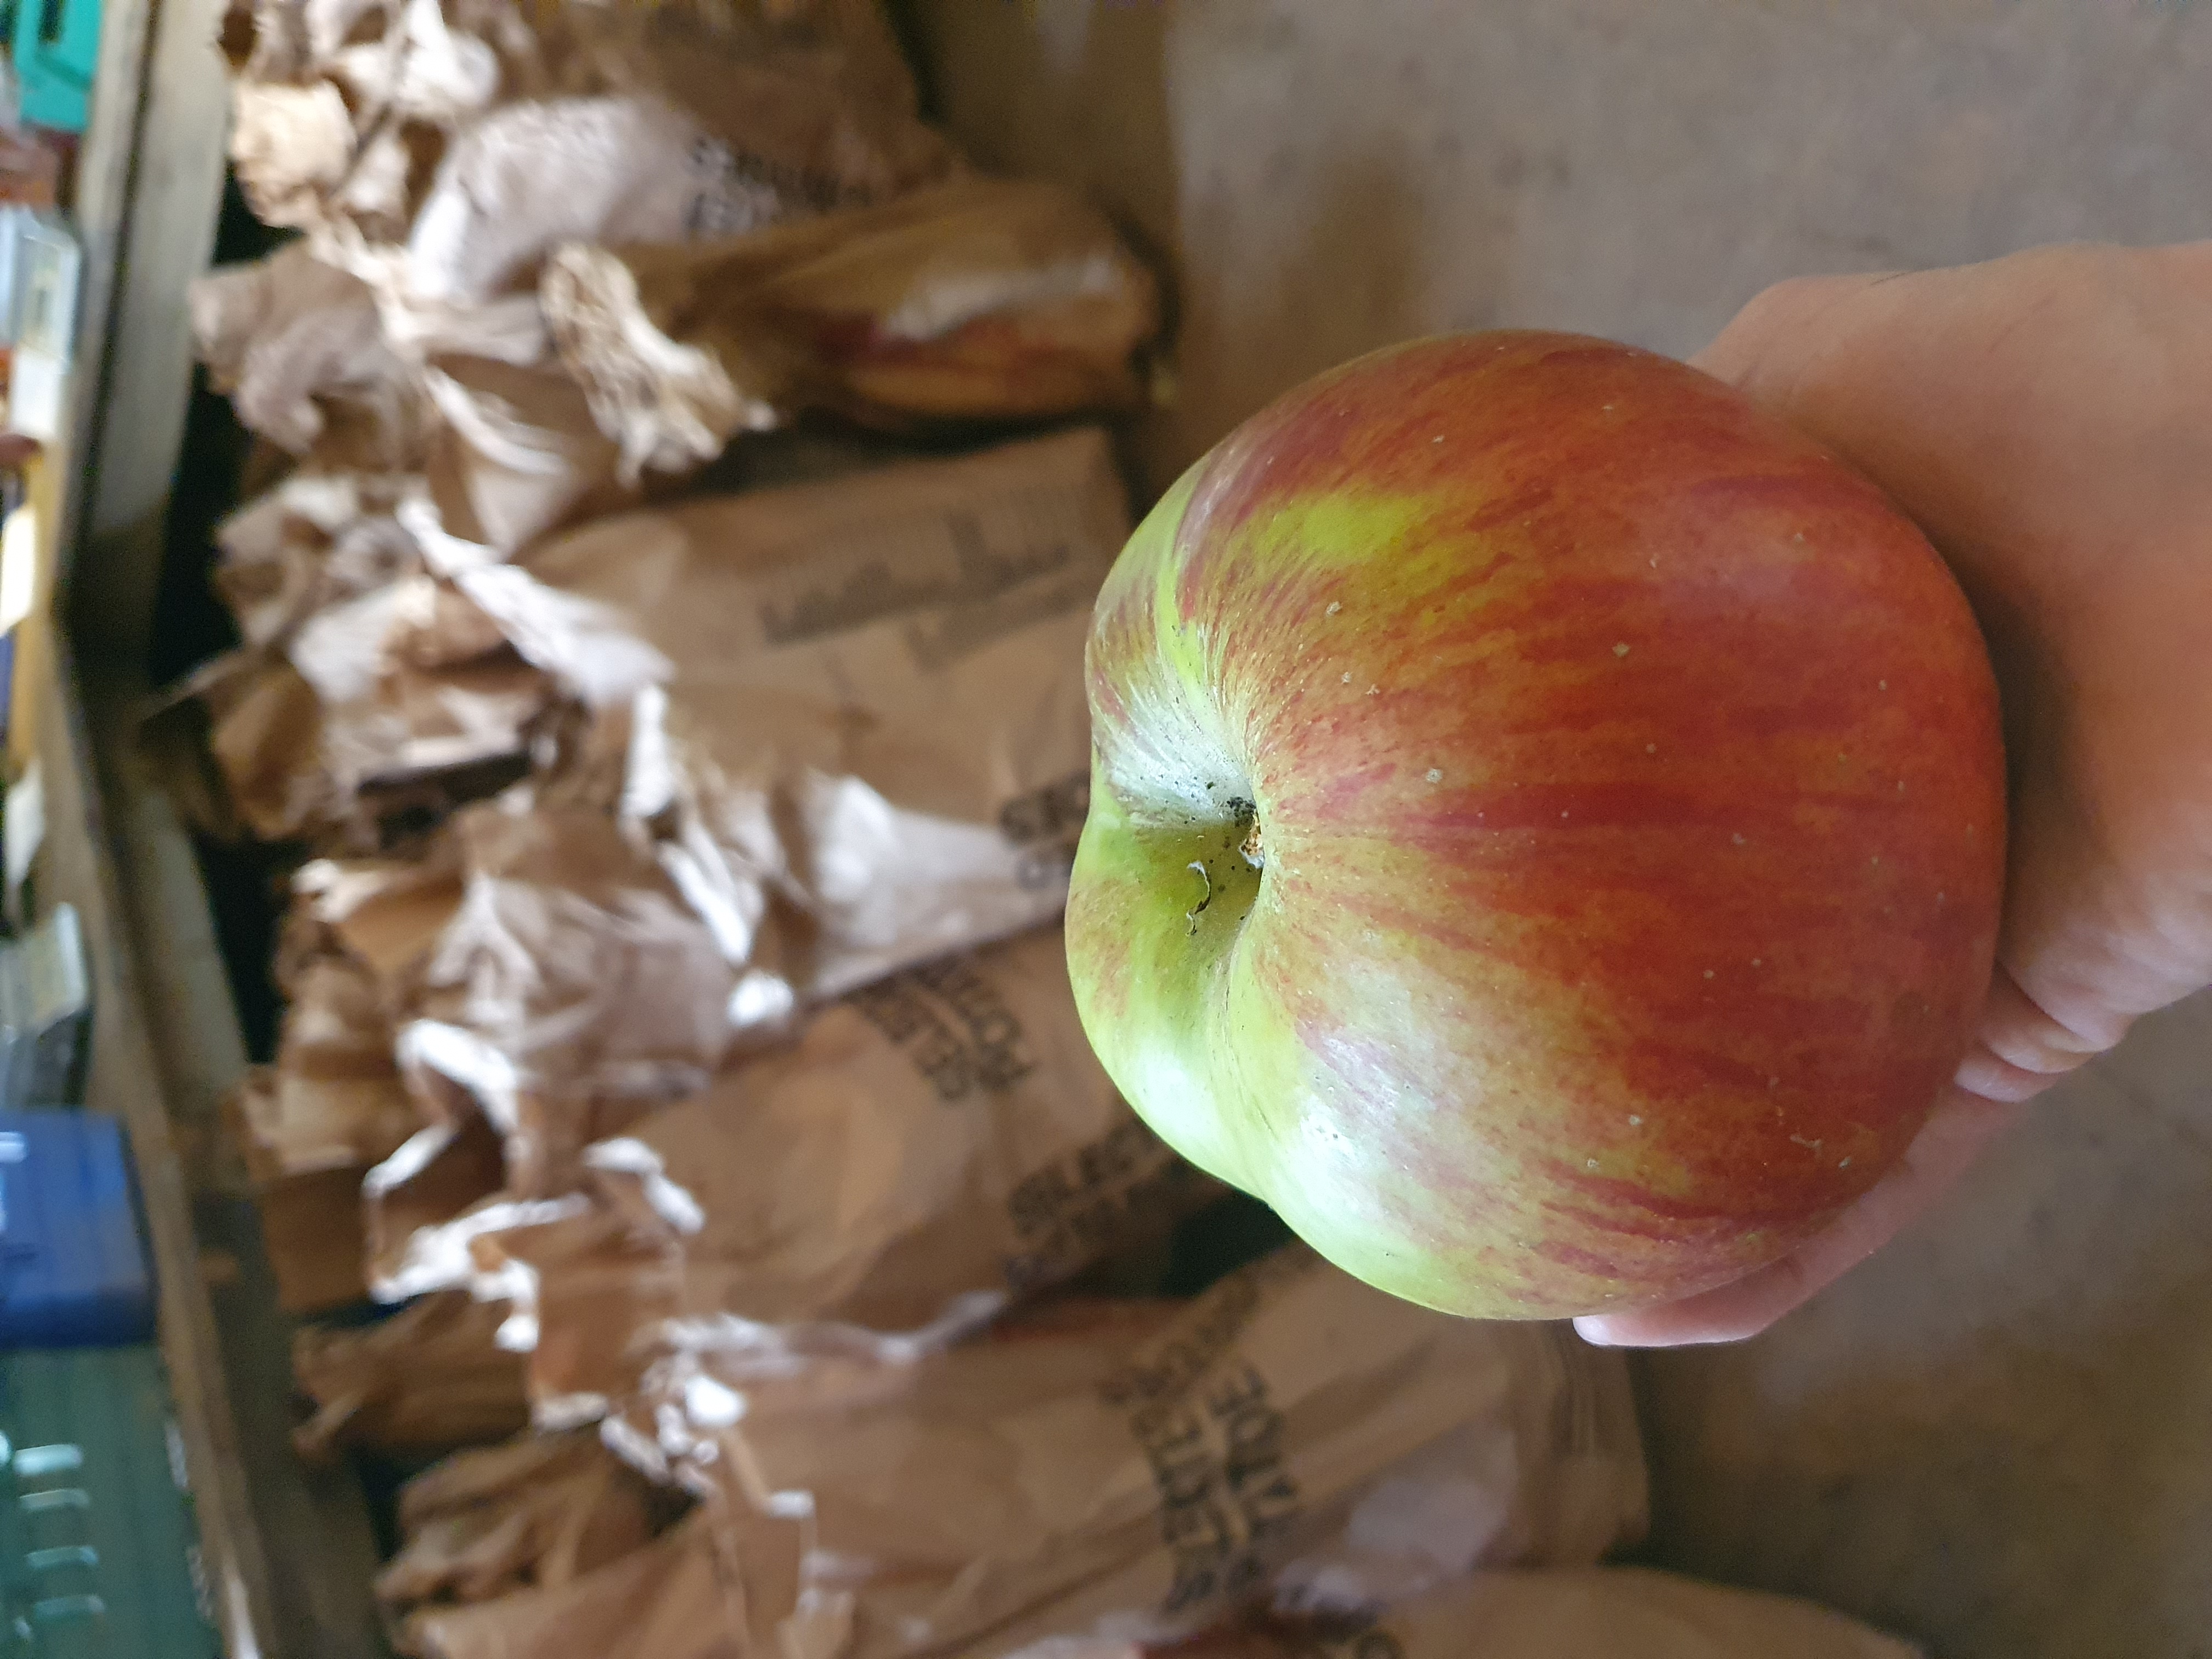
We have begun buying in a little supplementary veg this week, all organic and grown in the UK, to make sure that we do not deplete our existing crops too quickly too and early on so we protect against a large harvesting gap next year. We hope you enjoy the carrots and onions in addition to the array of veg we were able to grow here on site.
The last of our main crop harvests to be done in the coming weeks are beetroot and celeriac so do come and join us when these volunteer sessions are advertised.
The growers, October 2024
Vacancy at Canalside for Lead Grower and Manager
We are currently recruiting – please see full details on our jobs page.
Apple pressing and autumn open day, Sat 12th Oct 2024, 10-3
Come and visit our farm for a fun autumn day out!
10am-12noon: Join in with a volunteer morning in the orchard
From 11am: Apple pressing – suitable for all ages. Bring your own apples if you have spare from a tree in the garden and/or bottles to take juice home in.
Bring a picnic lunch to enjoy in the social area/pole barn.
Time TBC: Take a farm tour to find out what we grow.
Event details on Canalside’s Facebook group